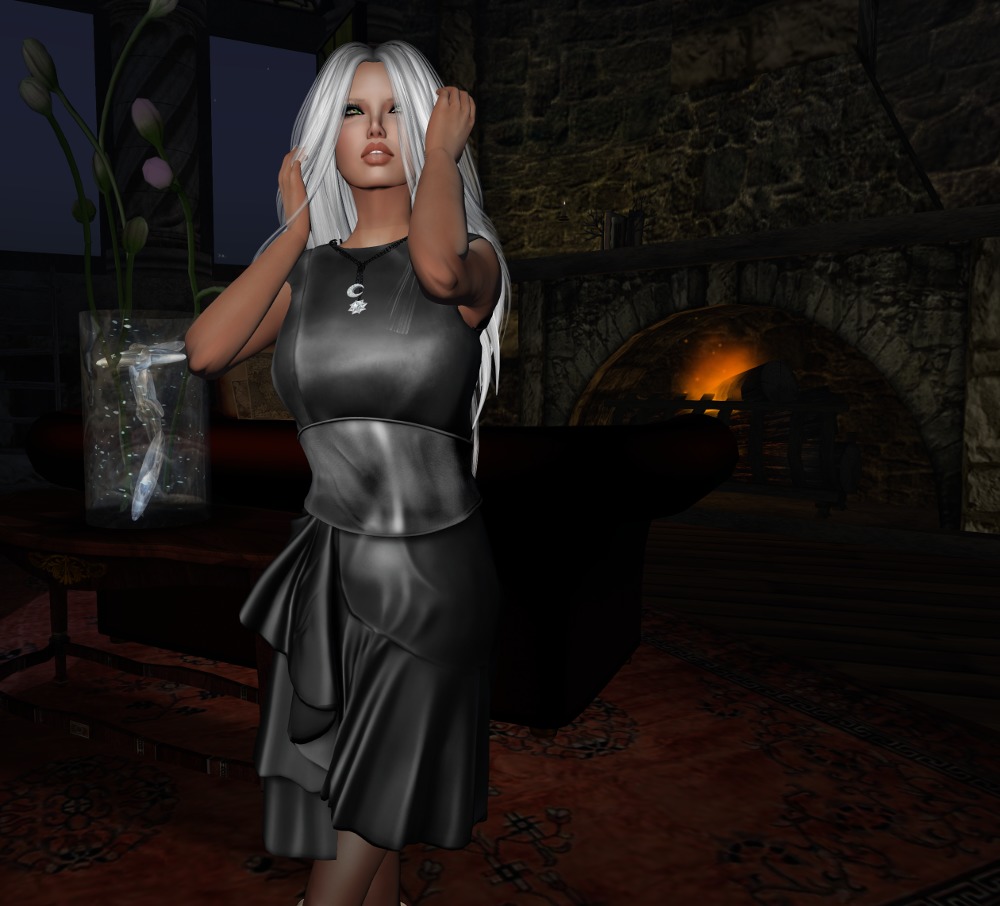
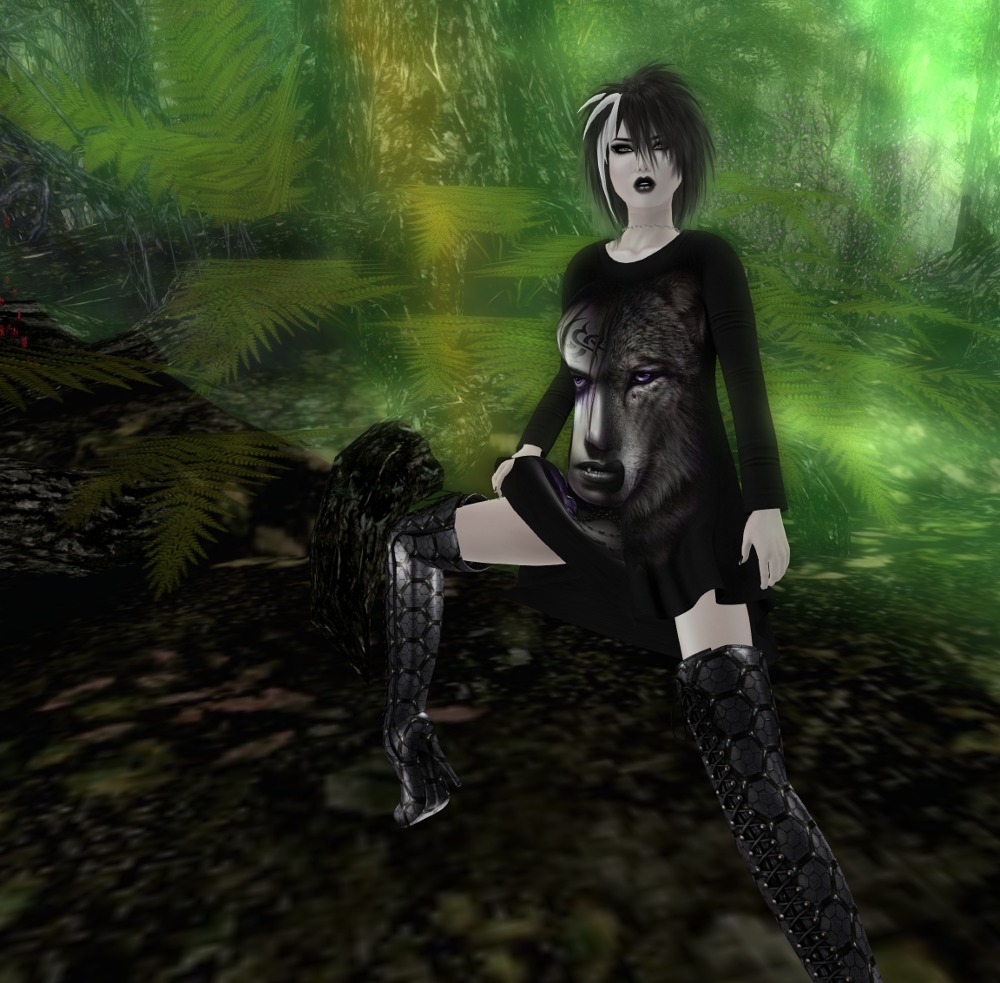
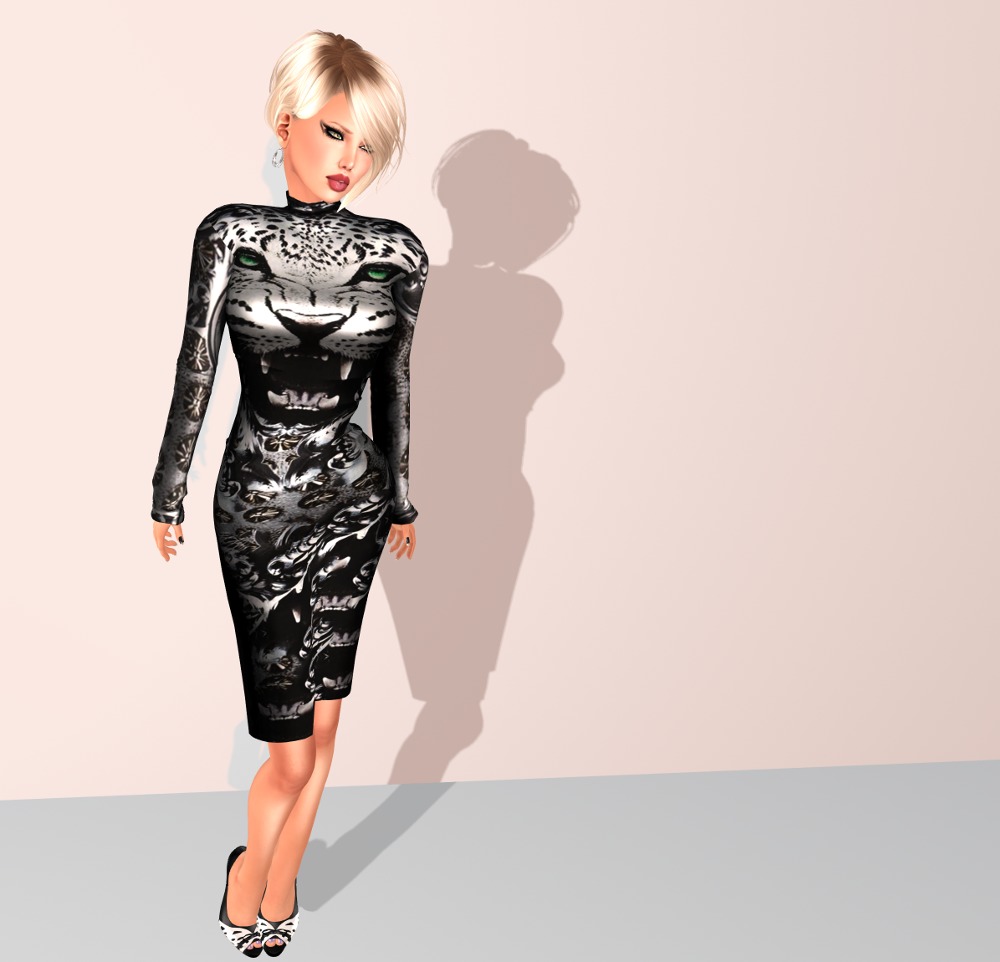
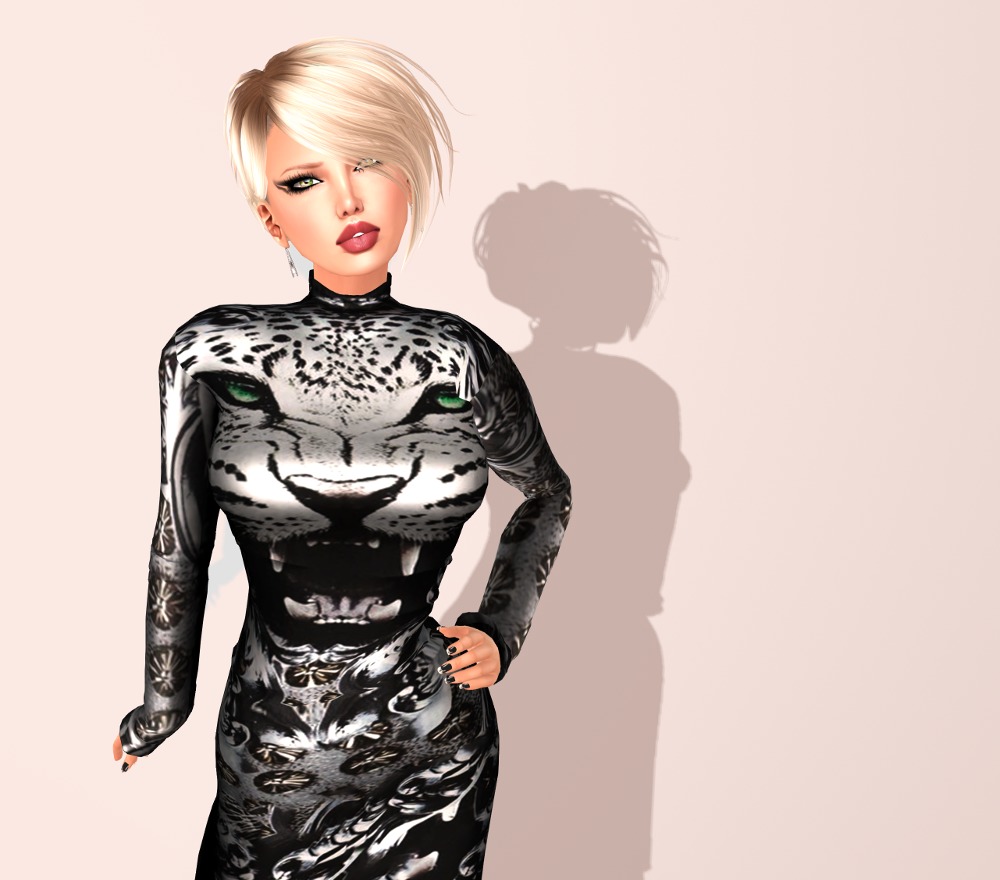
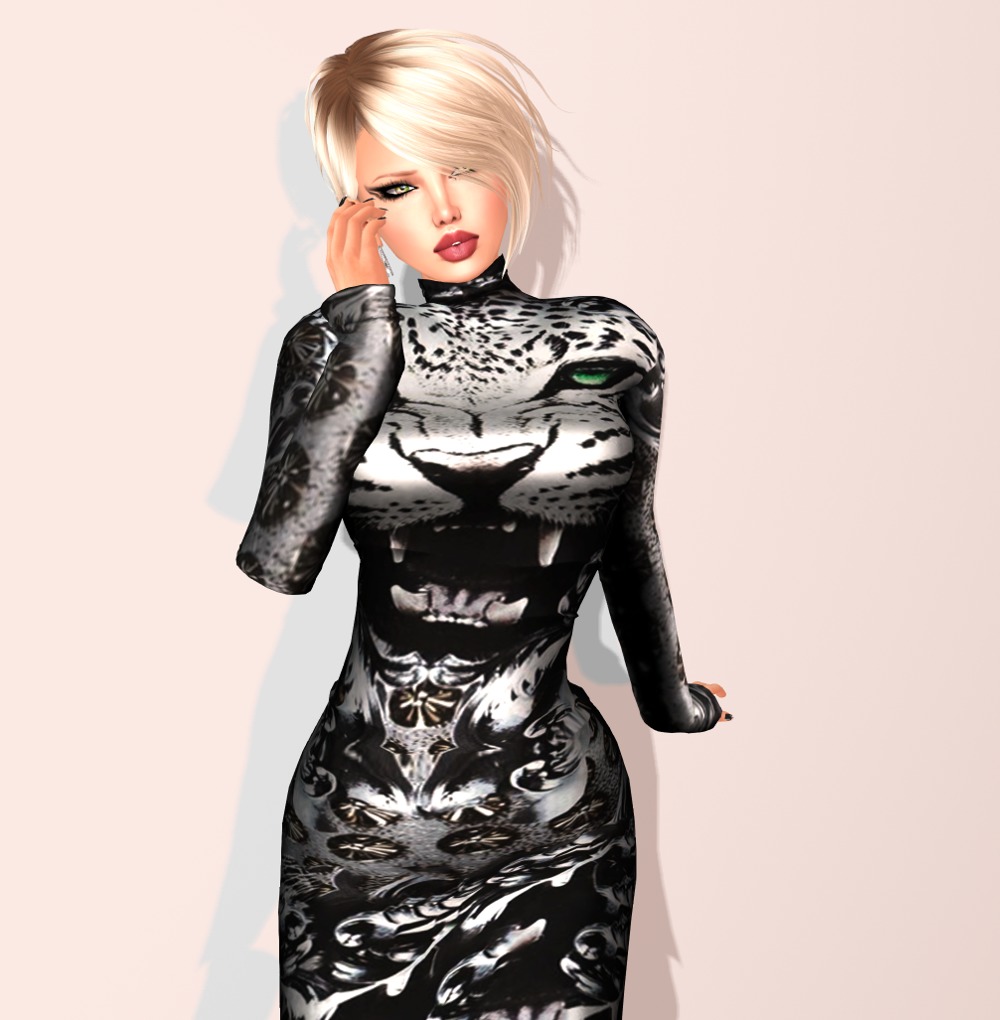
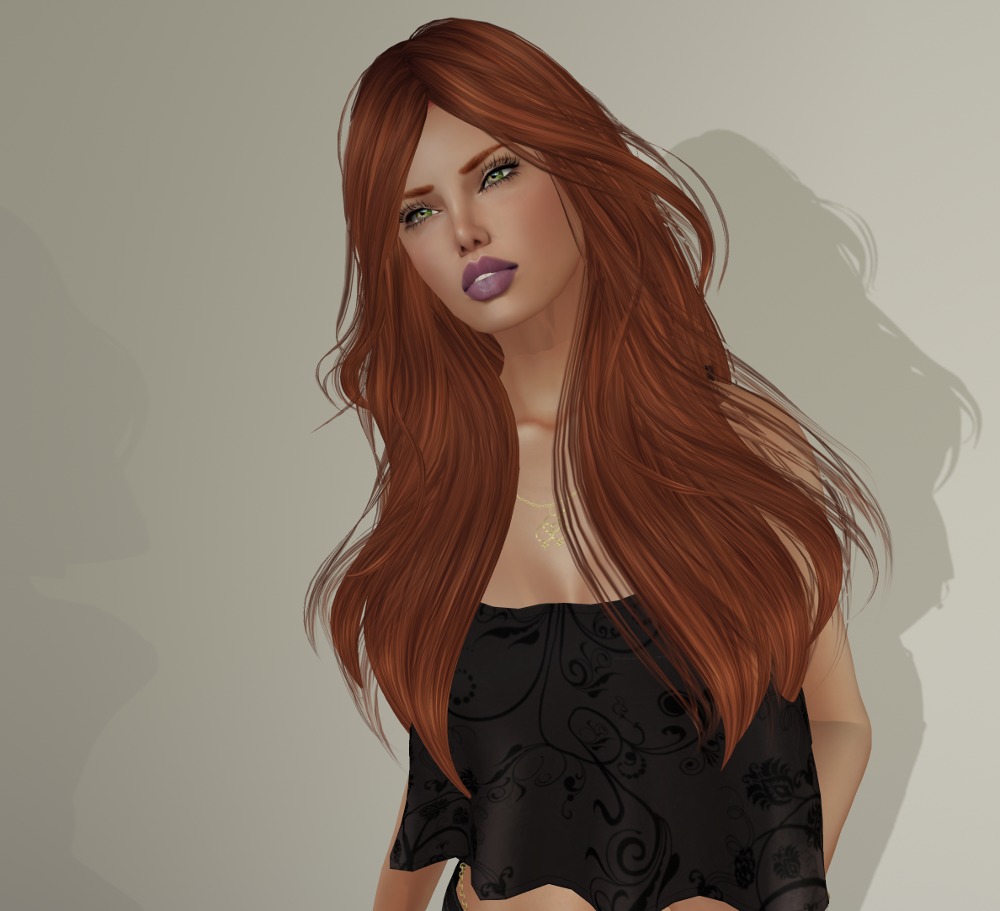
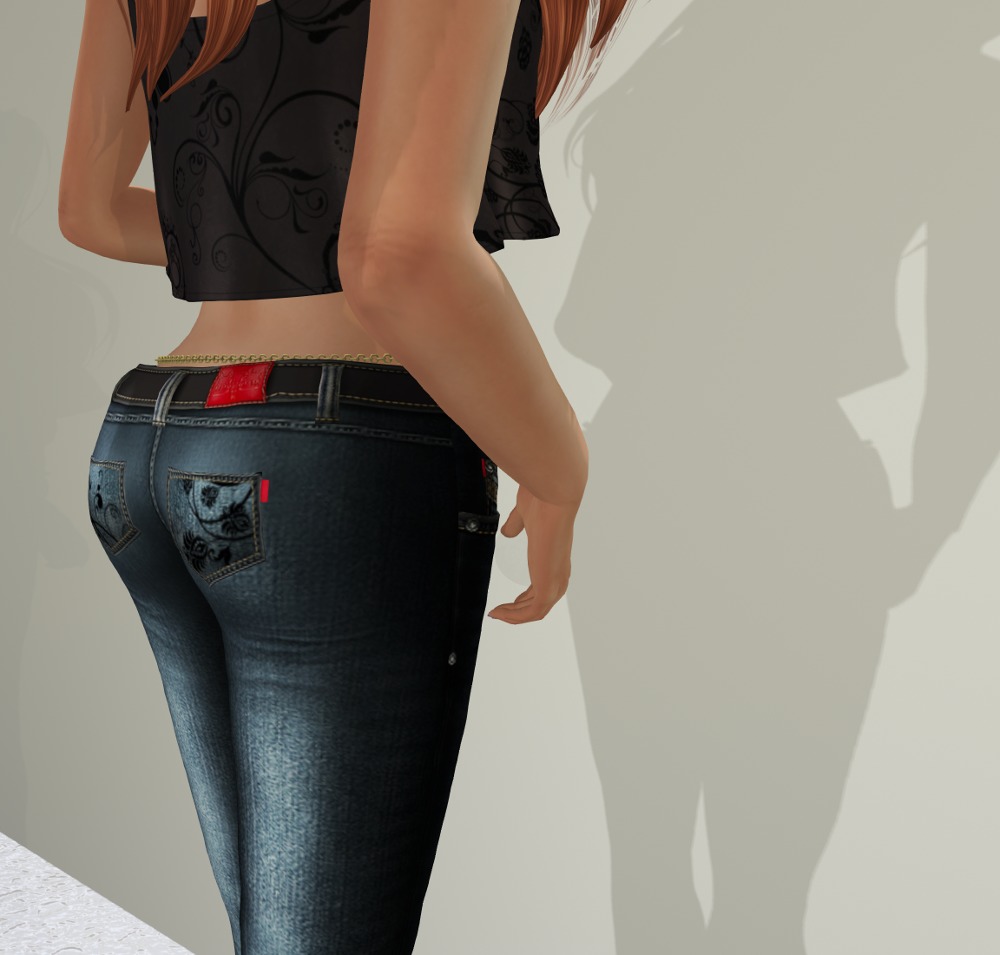
Here is the third outfit I selected from Ana Markova. Such wonderful work!
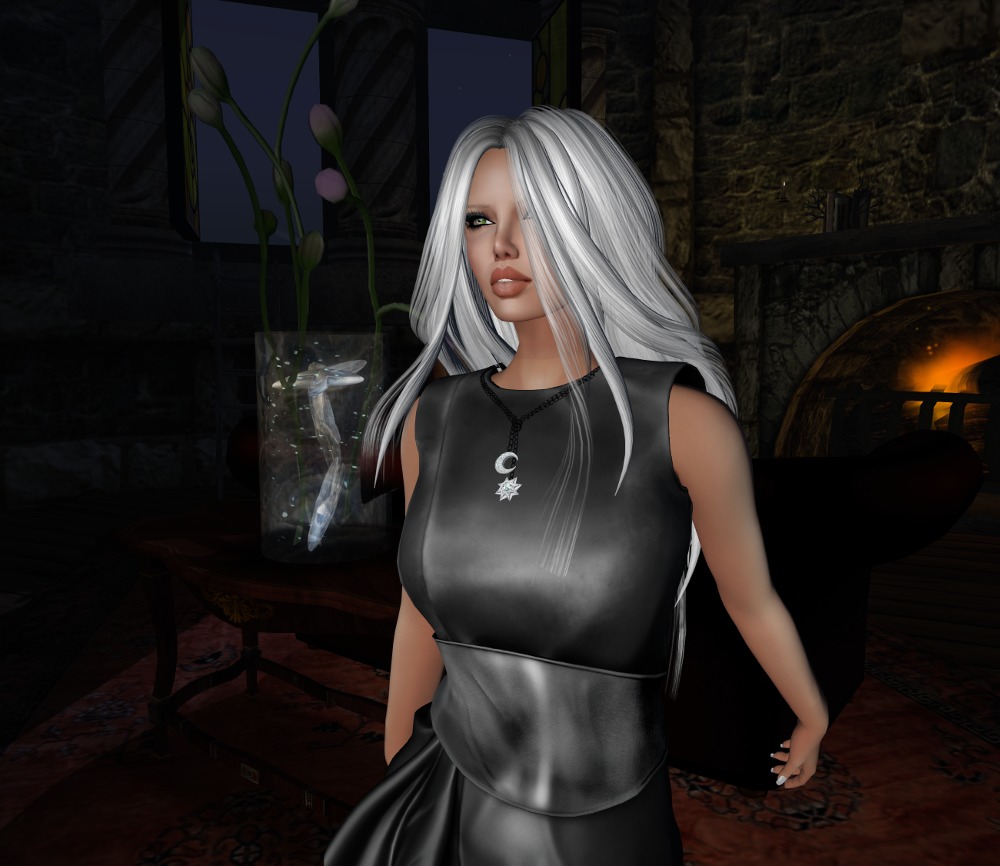
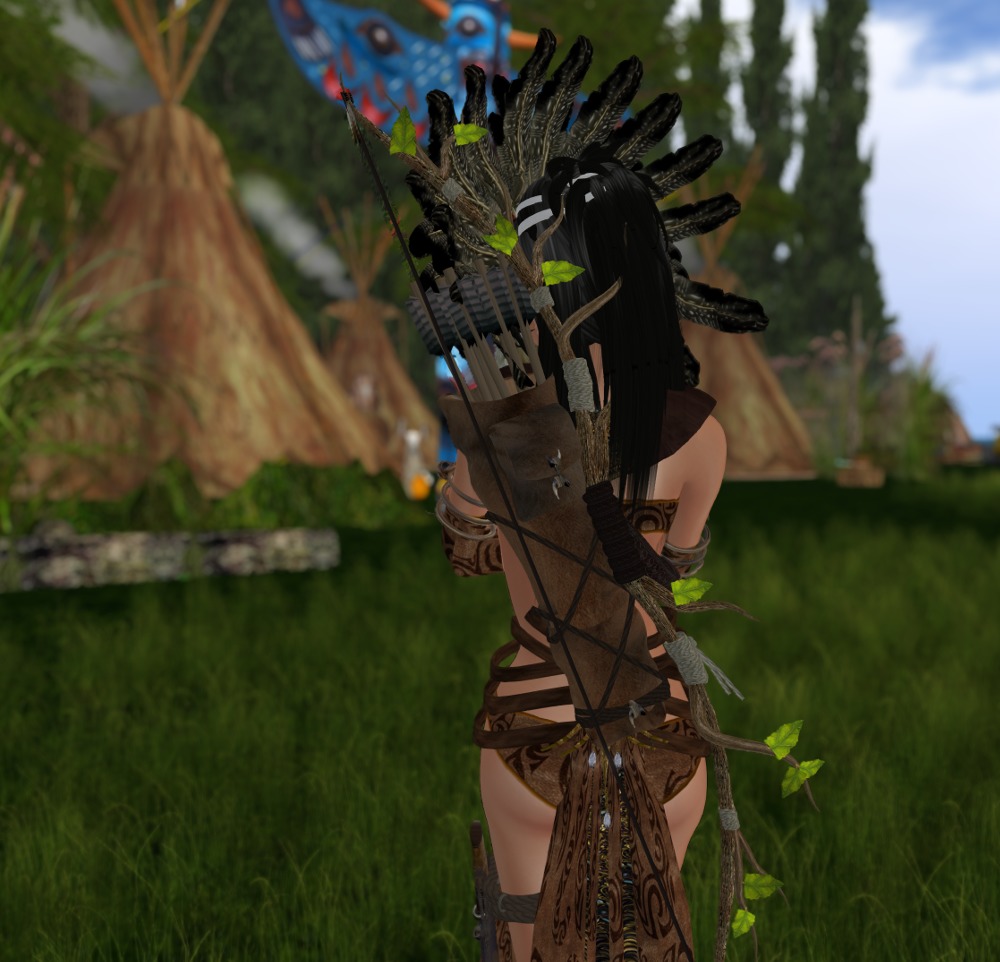
This leather dress comes in standard sizes and a one-size-fits-all fitmesh version, which is the one I’m wearing here on Lara. Goodness I love finding locations, and this dress, especially after I matched it with the necklace, started prompting me to find a location that suggested witches and magic. I have a landmark folder that I store locations in for photos and I knew I had the perfect one in there! And yes! And as a bonus, everyone has rez rights there, so it’s easy to do a pose stand and lighting. I love how some people are so trusting! If you come across sims like this and take advantage of them for photos, make sure you clean up your objects before you leave, so that the owners will keep them set so people can rez in the future!
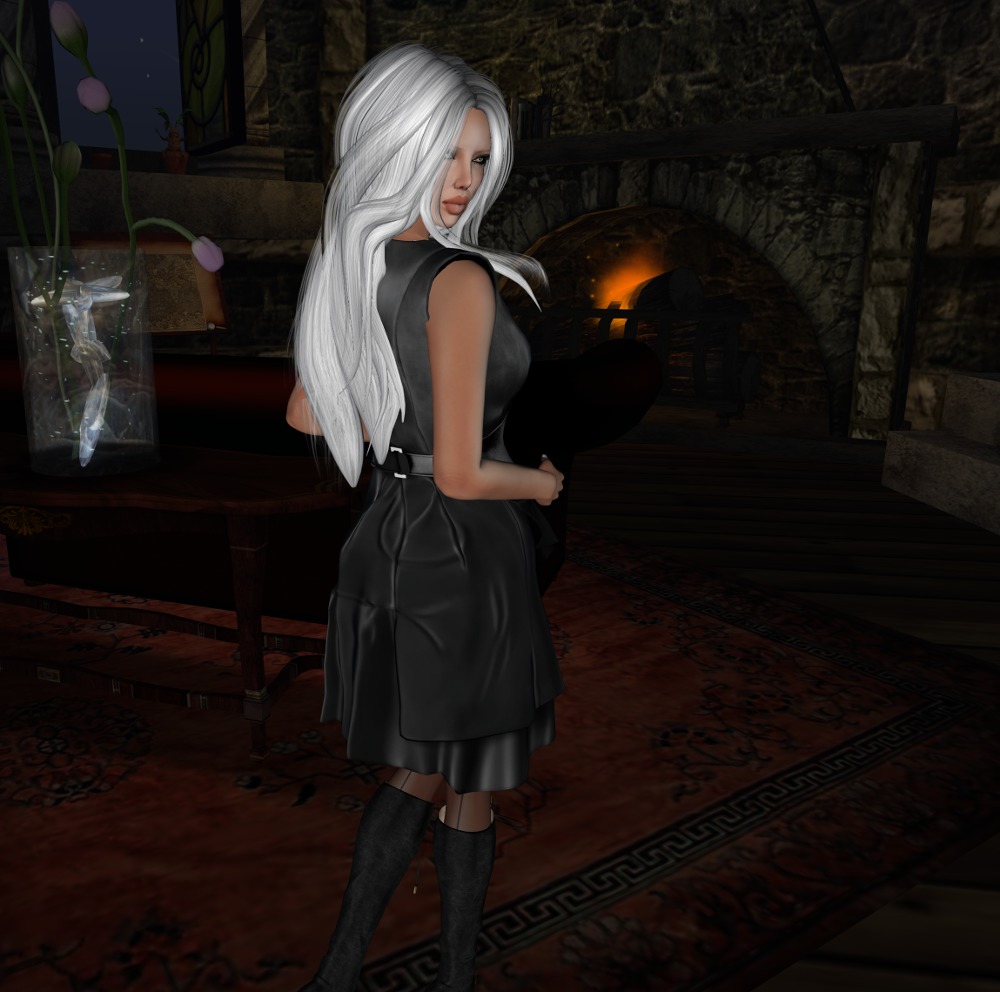
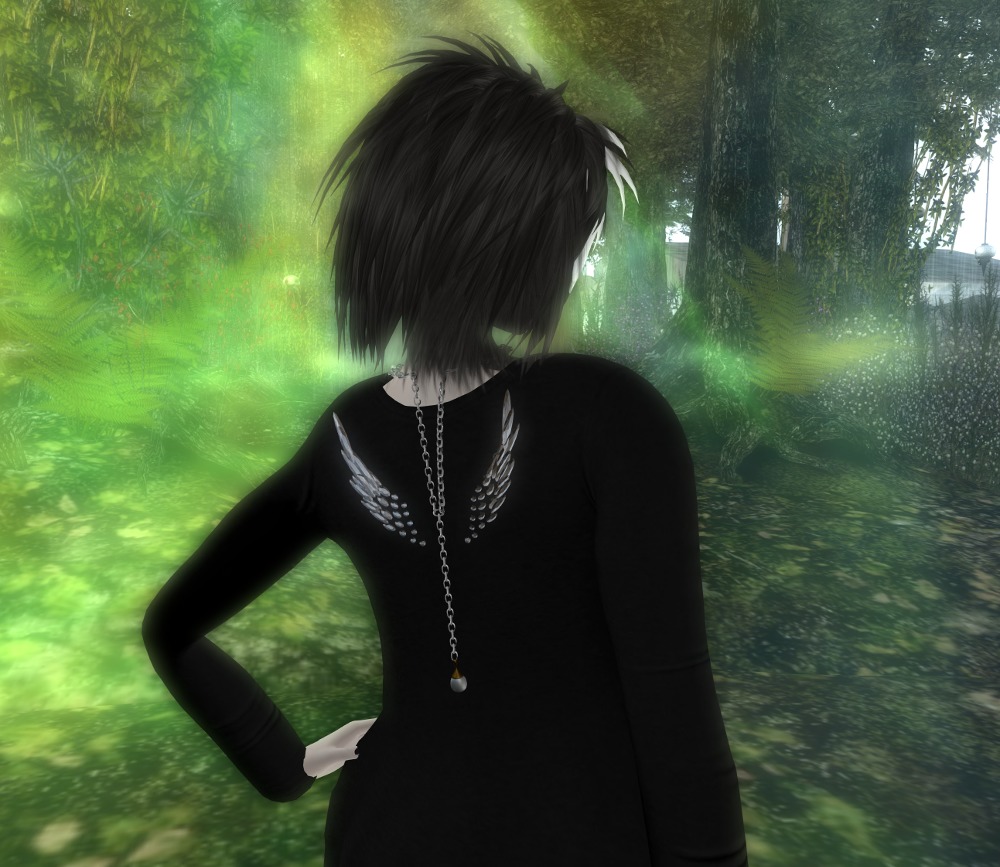
The detailing and textures on this are excellent. You can’t see it as it’s hidden by my hair, but there’s a zipper detail down the back of the dress that’s just amazing. Another wonderful outfit from Ana!
This is the October group gift from Paisley Daisy. Very appropriate for Halloween! Paisley Daisy is L$100 to join, but their group gifts are always fantastic!
Standard sizes all in fitmesh, plus specific fitmesh sizes for Slink, Maitreya, and Belleza. The pictures don’t really do the dress justice. While it’s black, it’s also materials enabled and picks up light from the environment really well. As I was walking around this sim to take these pictures, it went from black to grey to green to black. Lovely effect 🙂
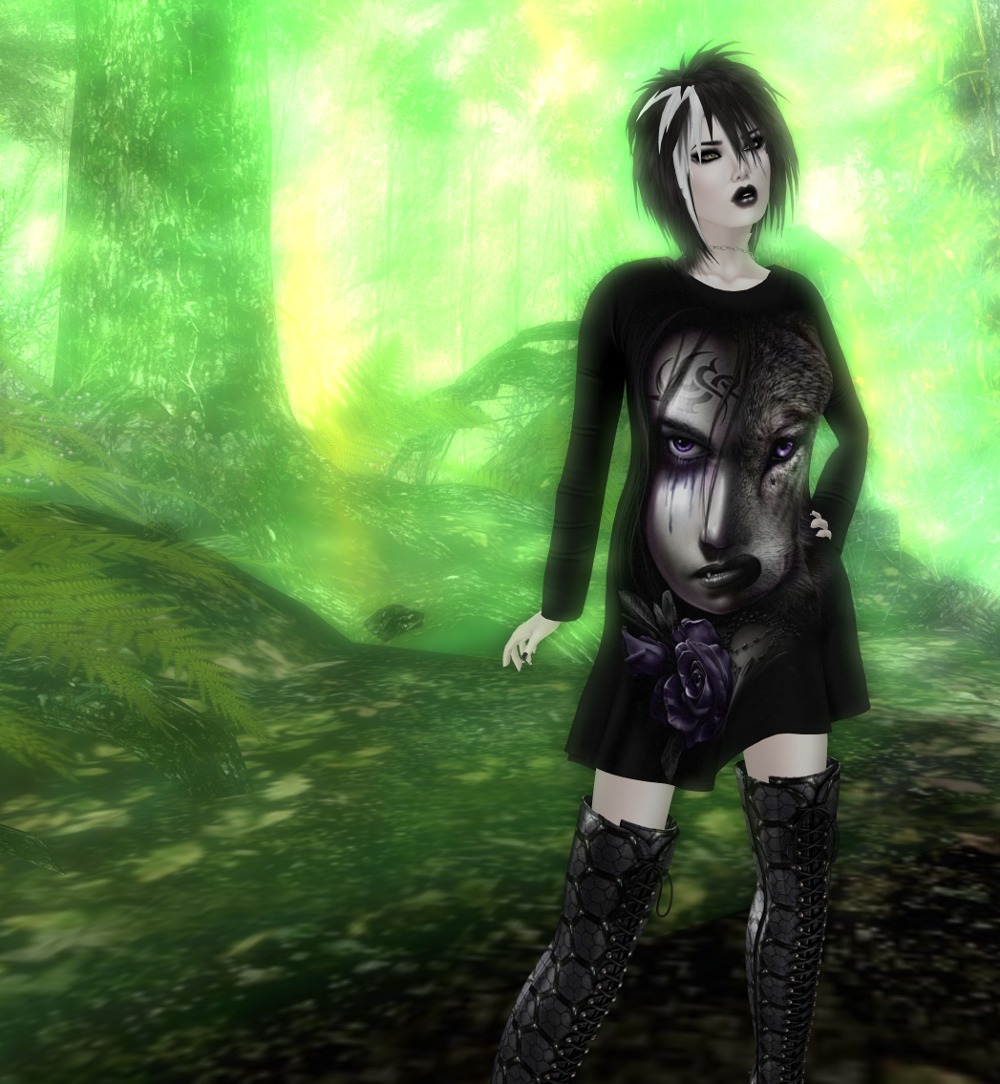
And I’ve been wanting to show off this back drop necklace for ages and ages and this finally gives me the chance to do it 🙂 If I remember rightly, I picked this necklace up in a hunt over a year ago. I love it but I never get to wear it. So I can be an evil wolfen on the front and an angel on the back 🙂
I mentioned in a previous post that I love playing with lights for photography in SL. I use projector lights nearly exclusively, and in combination with the Windlight settings and the Advanced Lighting Model and a good graphics card, you can get some stunning effects. I’ve barely scratched the surface of what’s possible, but I thought I’d give you a look at how to get some basic lighting setups going to make your photos more realistic.
Firstly, Windlight. I find myself using “Nam’s Optimal Skin and Prim” and “Nam’s Beach Scene” when I want shadows cast from the sun, and “Narcon’s Natural Midnight” when I don’t. I’ve used some interesting unnatural ones for special effects such as fog, and another for a red sky for a demon shot), but those three are the “go to” ones for natural looking photography in my opinion.
Next, a big secret that no one seems to mention is that you have the option of taking photos using a capture size much larger than your display. You’ll find the width and height settings in the camera window. If your video system can handle it and you have the memory in your computer, I recommend you set it to about two to three times larger than your physical display. This is the same reason that RL photographers use large format cameras: the more detail you capture, the better it will look for scaled down pictures you’ll put on the web. Also when you (ahem) digitally retouch a huge picture like this and scale it down, your retouches will be better hidden, and you reduce jagged edges too! What’s not to like, as long as your system can support it? My display is 1920×1080, and I regularly shoot at 4301×2303 or above.
Finally, if your graphics card can handle it, you should turn up anti-aliasing as far as you can to help eliminate jagged edges.
Note that turning on shadows and high anti-aliasing settings may significantly slow your frame rate, so do all this just before you press the shutter release (I use the new graphics presets for just this purpose).
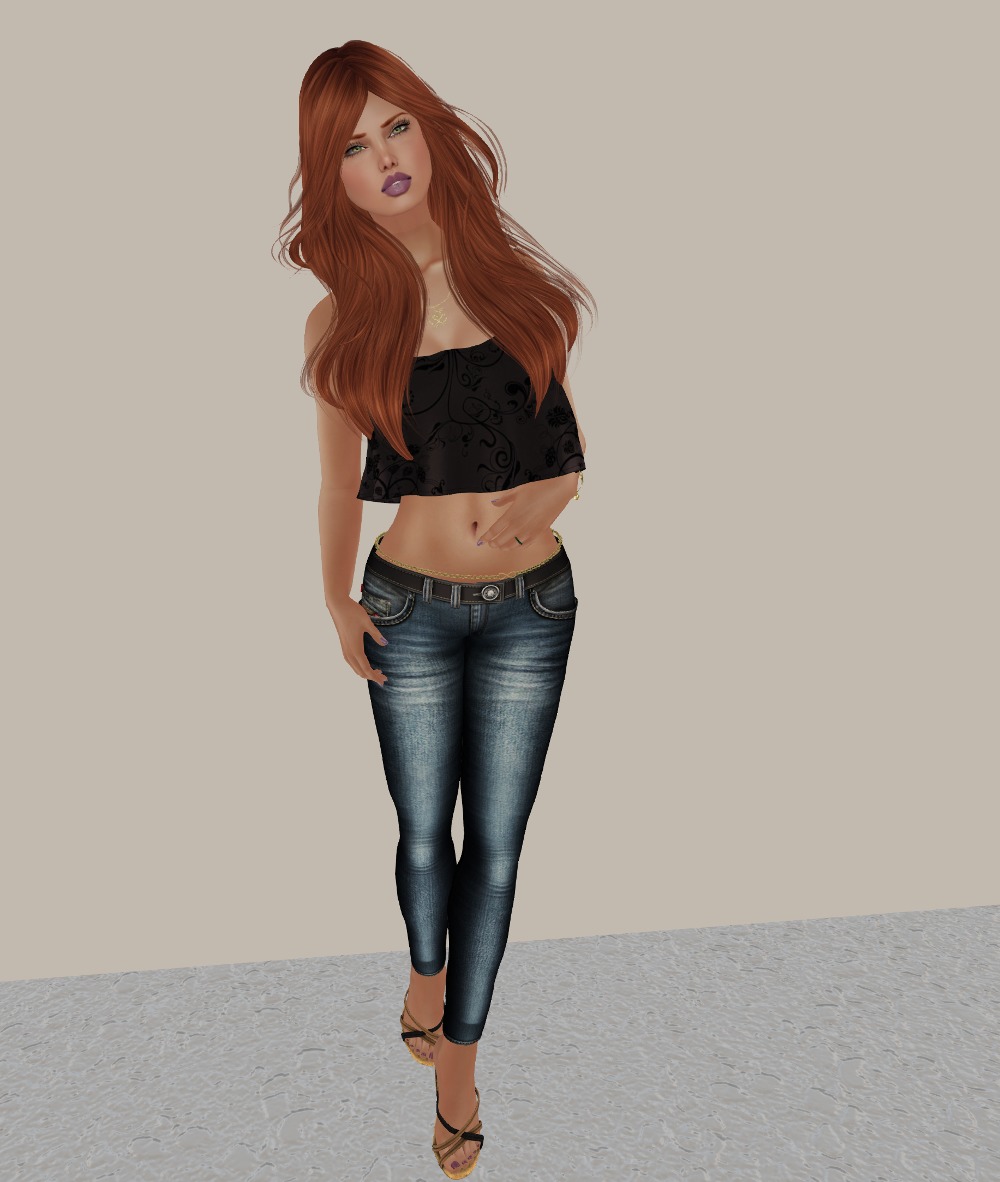
Let’s look at a scene lit with “Nam’s Optimal Skin and Prim” with the talent (that’s me *grin*) facing into the sun and no shadows.
Note that the Advanced Lighting Model is on (you can tell by the bump texture on the floor) but we have shadows set to “None”. By the way, all these settings I’m mentioning are in the “Graphics->General” tab in Firestorm’s preferences (with the exception of anti-aliasing, which is in “Graphics->Hardware Settings”).
Now, lets look at a lighting setup to get something interesting happening here…
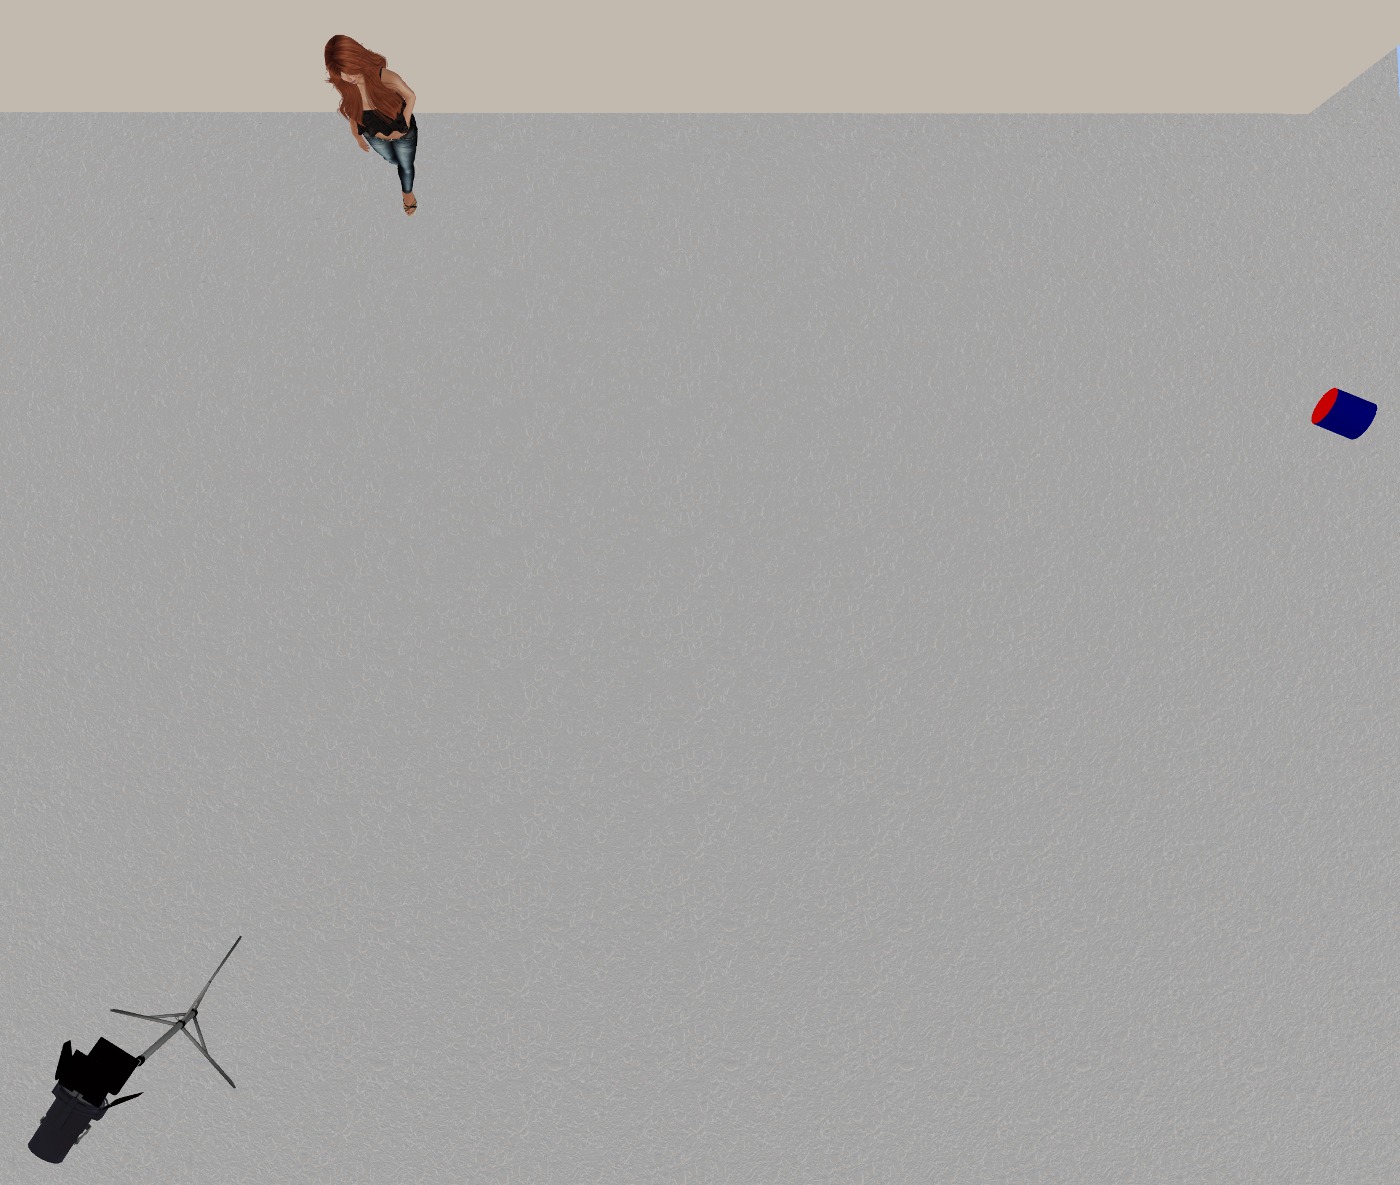
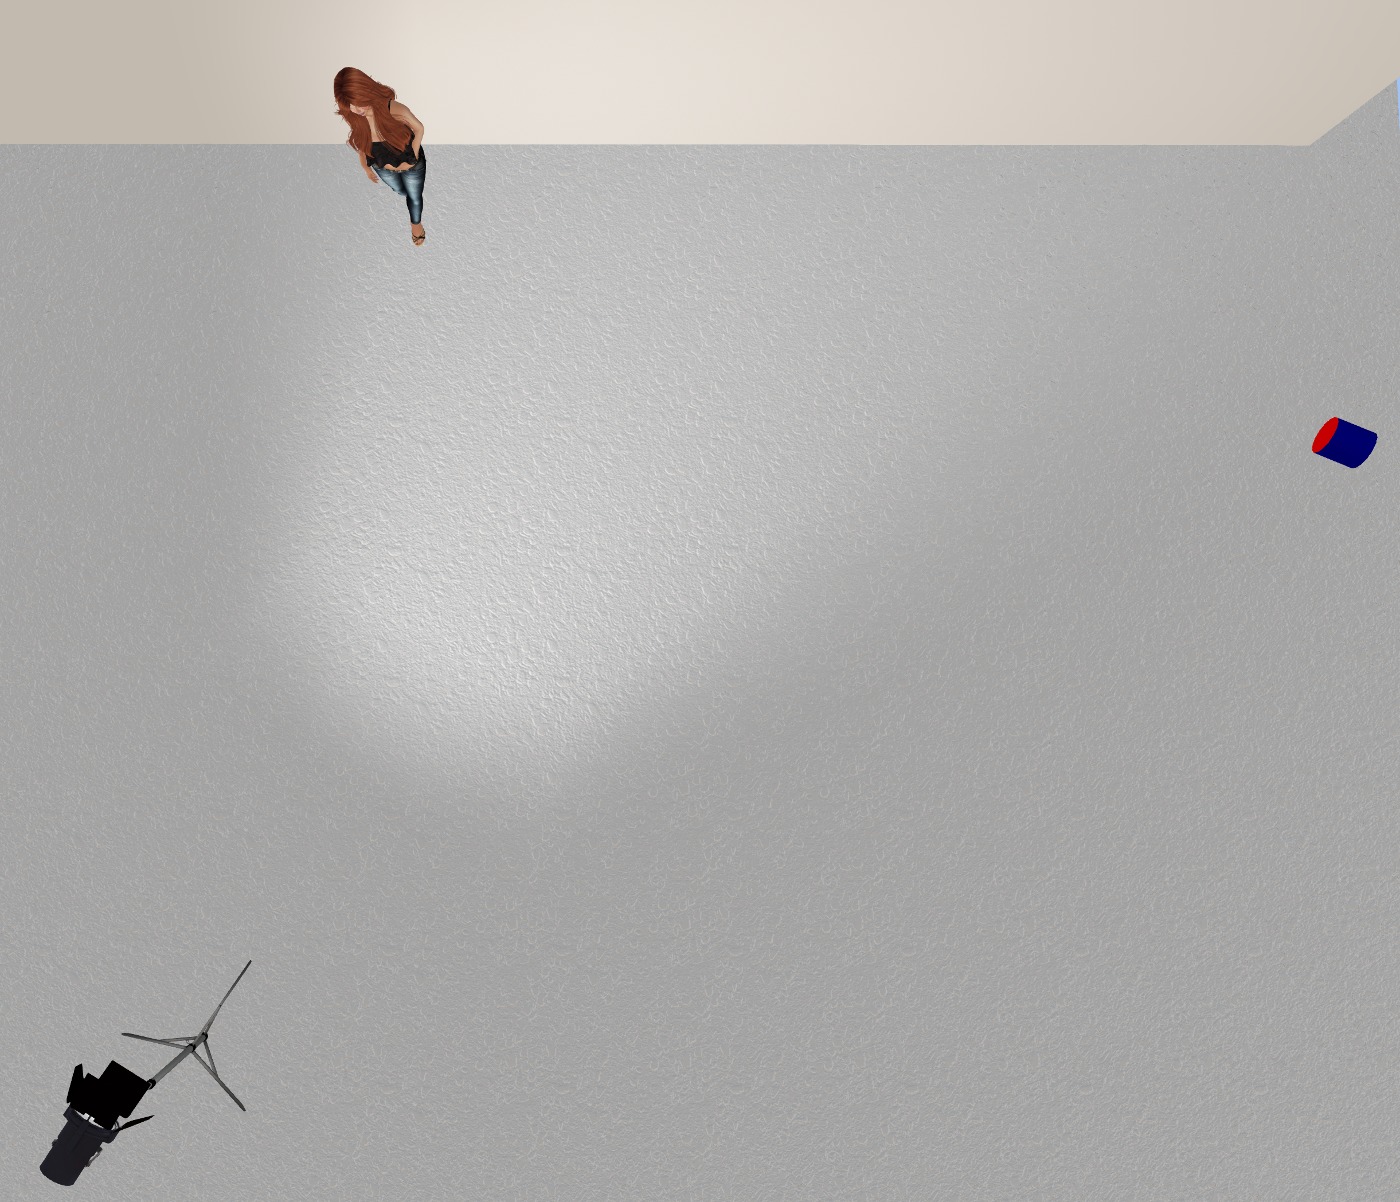
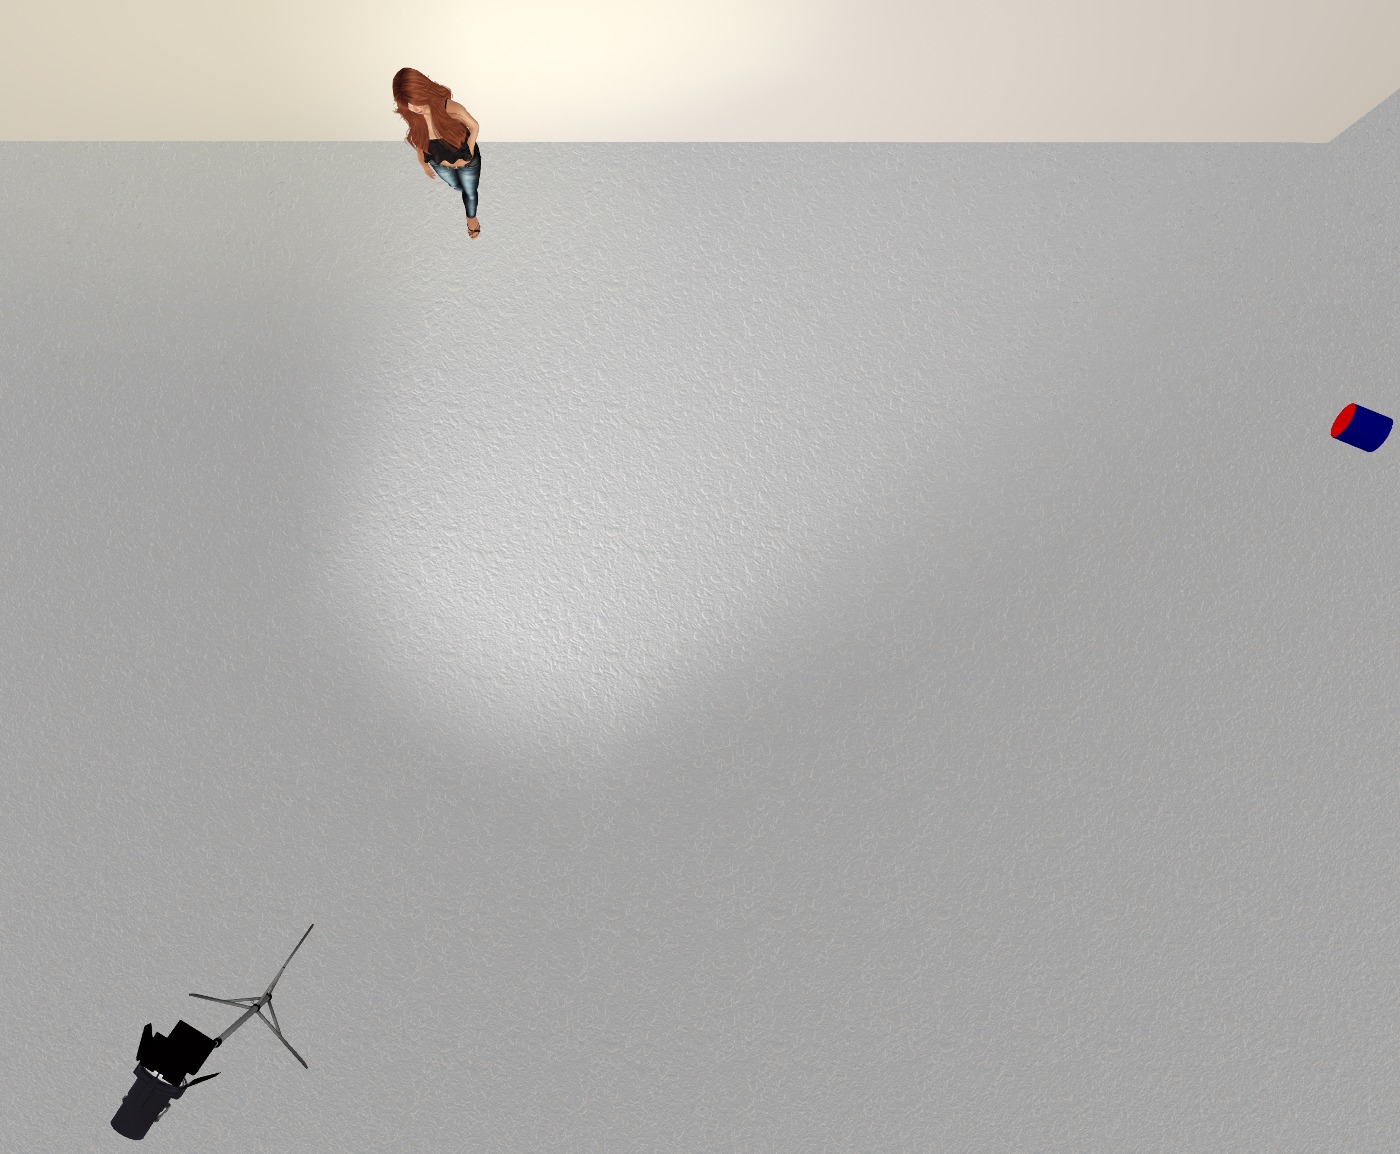
Here is a top view of the scene. The black light on the stand is my main light, and the blue and red cylinder on the right is my fill light. I’ll talk about settings for both of these at the end.
Lets switch on the main light which is just pure white…
As you can see, projector lights are directional, so you have to think about positioning and rotating them to get what you want. This lights my face and body, but I’m at the edge of the light, so directly to my right (the left of the picture) will be darker, and to my left will be lighter, gradually falling off as we get further away from the light.
For the fill light, I am using a very light yellow that makes my skin look good and makes my hair highlight well. Lets switch it on; it’s much more subtle than the main light…
You can hopefully see the difference on the left side of the photo now. We’ve considerably lightened it.
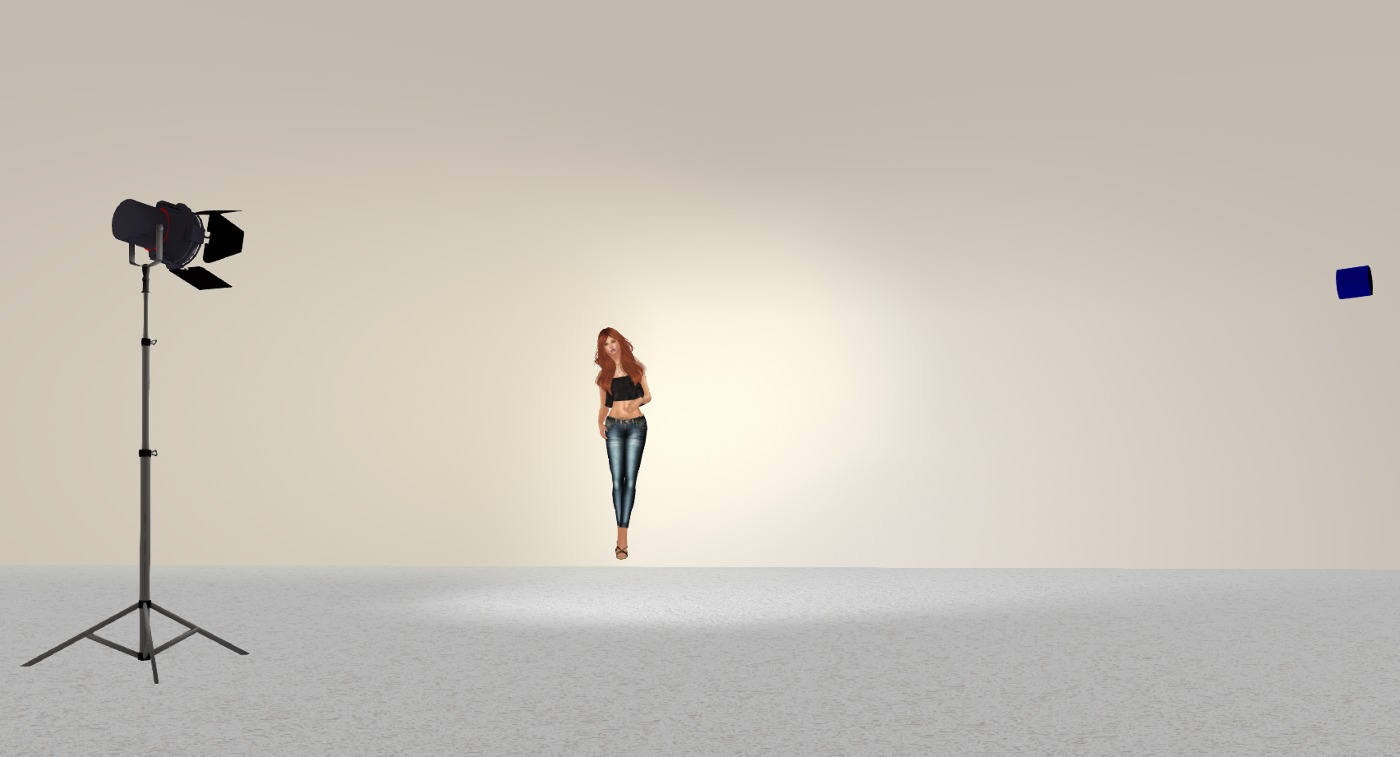
Here’s a front view:
The fill light is much more noticeable from the front view, and you can see I have it hitting the wall well to the right and filling the left of the picture.
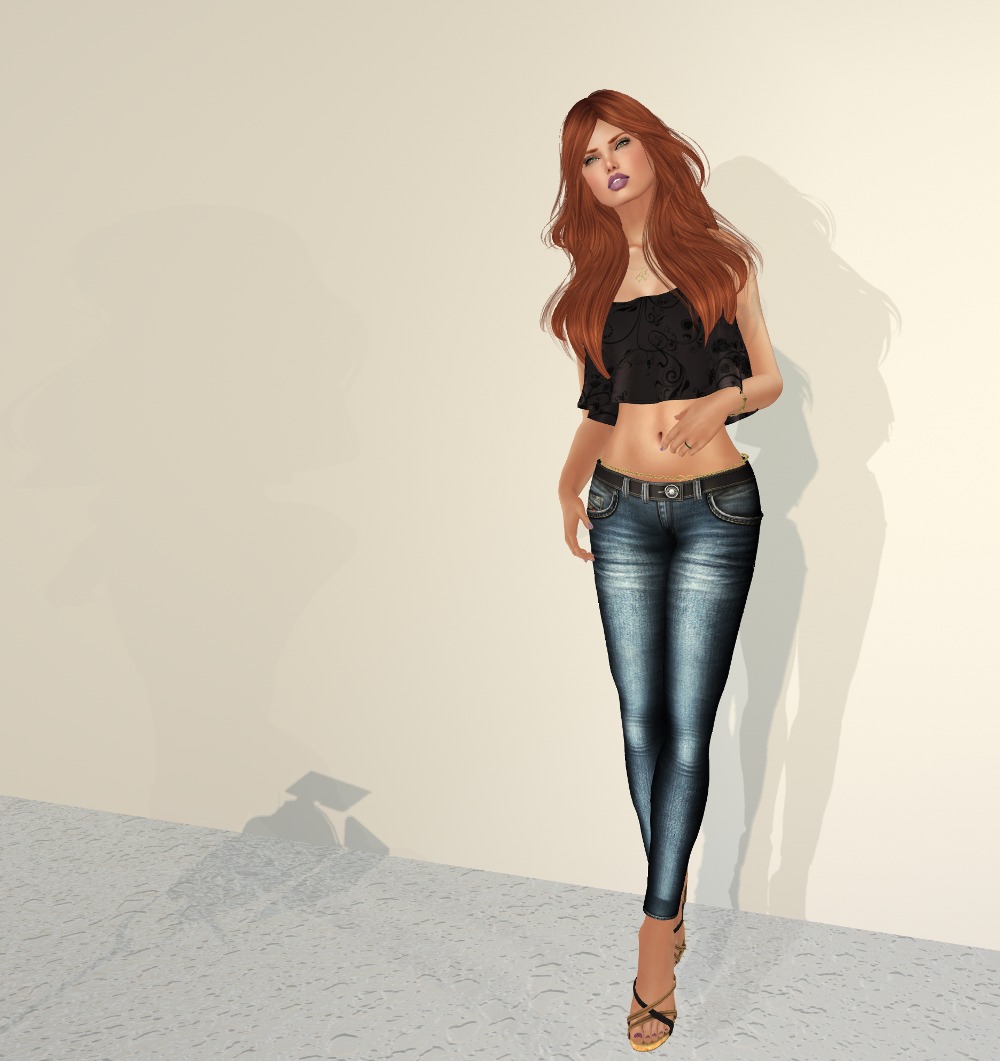
And finally, we can switch on shadows and see were we are. Note you must switch on “Sun/Moon + Projectors”.
Great! Look at that! We have three sets of shadows happening, the sun and the two projector lights. The really heavy shadow is from the sun, the lighter shadow to its right is from our main light, and the faint shadow to the left of the picture is from the fill light.
Note the shadow from the body and stand of the main light to the left of the picture. This is being caused by the sun. You have to manage this. You can do tricks like setting the object to 40% transparent or greater (then it won’t cast shadows at all) or you just reposition your camera or crop the raw image to manage unwanted shadows. I left that shadow in deliberately so I could mention all that 🙂 Also, if I was shooting this to make it look good, I’d switch to midnight so I’d just have the two shadows from the lights and nothing from the sun. You can see that effect in the photos I did for this outfit yesterday 🙂
Here are the settings for the two lights. The main light first (I haven’t bothered showing color as it’s white) and then the fill light.
I tend to use all six of the settings to control the lights (intensity, radius, falloff, field of view, focus, and ambience). You can see they are very different between the two lights. Possibly the one that you’ll play with the most is focus. Negative numbers are soft focus, and positive numbers are sharp. But play with all of the settings to find out what they do.
And finally, what works in RL works in SL (mostly). Reading an article about fashion lighting on the web can significantly help you light your scenes better.
Recently, Aeon and I had our second wedding anniversary. Rather than dithering over gifts (I made her one last year) we got each other gift cards to a couple of our favourite clothing stores. Aeon gave me a card to Ana Markova Designs, whose stuff I just love (Aeon knows me well lol).
Here’s the first of three outfits I got, a truly eye catching design, I think you’ll agree!
The dress is in standard rigged sizes, but I had no trouble wearing it on Lara with only one tiny issue at the neckline, which isn’t noticeable when you’re walking around in it. One note here: the sleeves are designed to fit Slink or system hands only, so if you wear Maitreya hands, you may have to revert to system hands (shudder).
And yes, I’ve gone blonde for this. I spent a lot of time looking though my hairstyles as I wanted something short so as not to cover up the design of the dress. I’ve sported this hairstyle before, but in my normal red. And that’s what I started out in, but when I came to shoot the pictures, the contrast detracted from the dress design. So blonde it is 🙂
No prizes for guessing where I got this outfit. Yep, the Womenstuff hunt 🙂
The dress comes in standard sizing, but looks to be all fitmesh, even though it doesn’t say so. The optional capris are on a pants system layer, but the package also has appliers for Slink, TMP, and Omega.
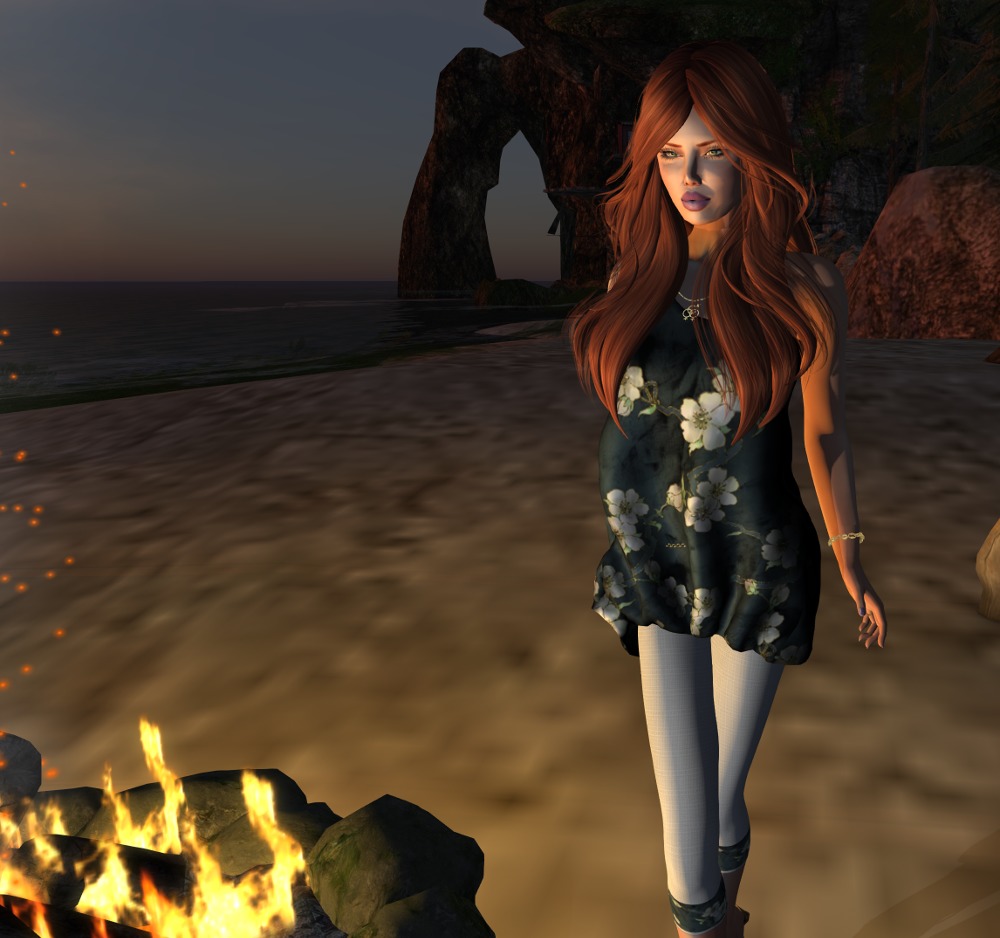
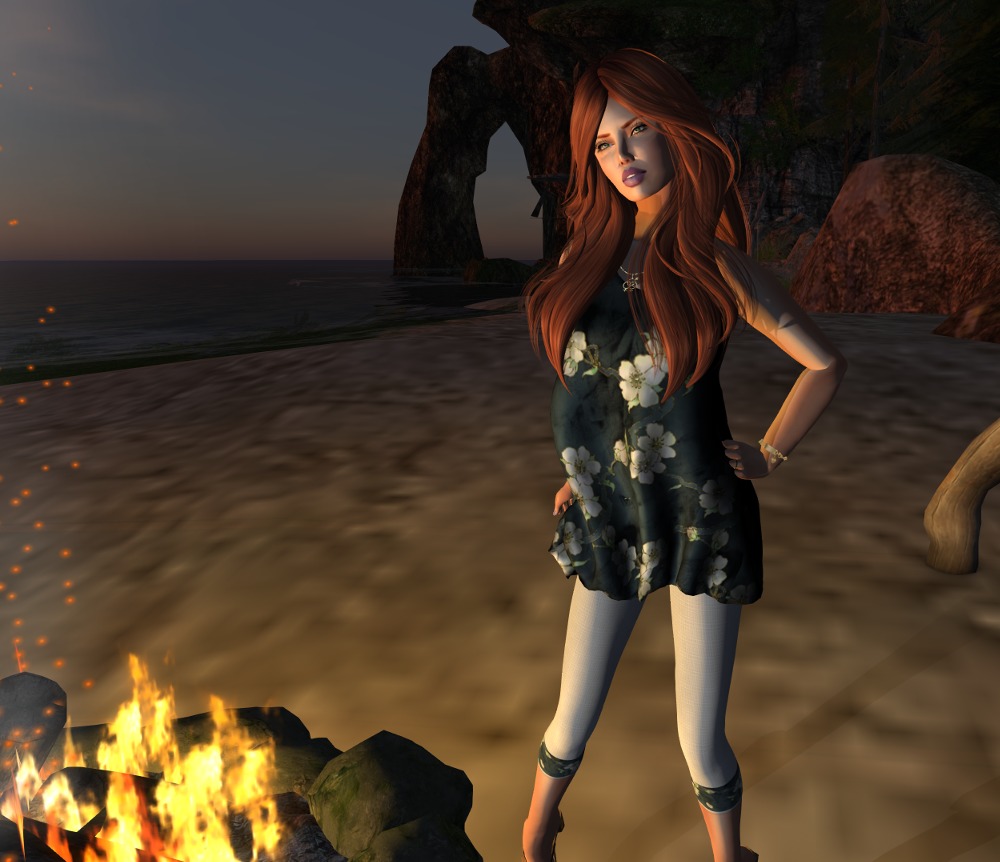
I really love playing around with lighting in SL. In these two shots, most of the light came from the fire as you can see. I used a projector light just out of scene to soften the shadows around my face a little. Maybe I should do an article on lighting?
Outfit: Silk Blossom – Mesh Dress and optional Capris by Tamiron Forge
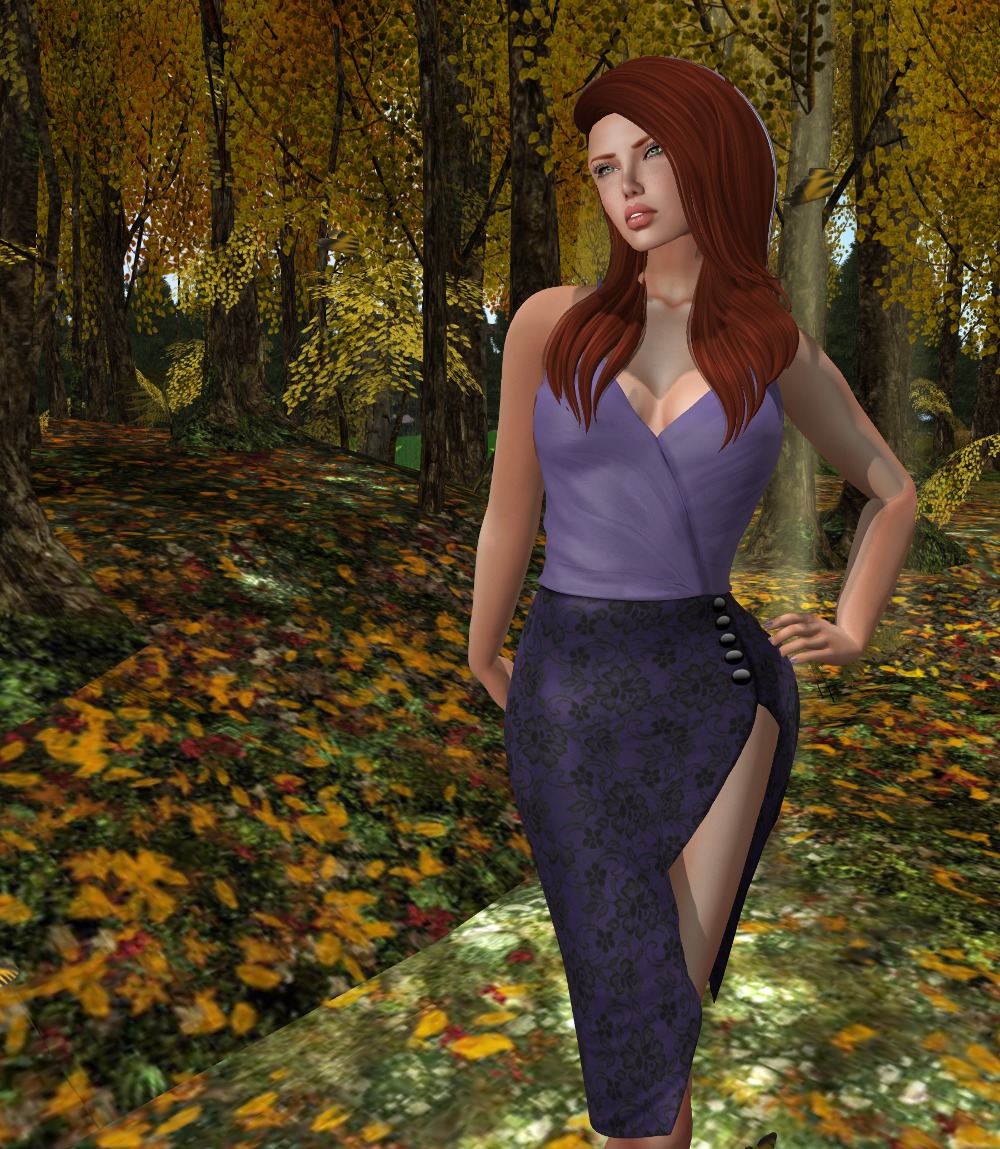
Some times I wish I had more group slots. What am I talking about? I always wish I had more group slots! And yes, I could upgrade to a premium account, but I actually enjoy making a profit from SL rather than the other way around hehe.
Anyways, the reason I mentioned that was that I was struggling to hang on to some groups as there had been nothing on offer for quite some time, and then along comes this simply stunning mini from one of them!
This is in standard sizes plus fitmesh for Maitreya and Slink Physique and Hourglass.
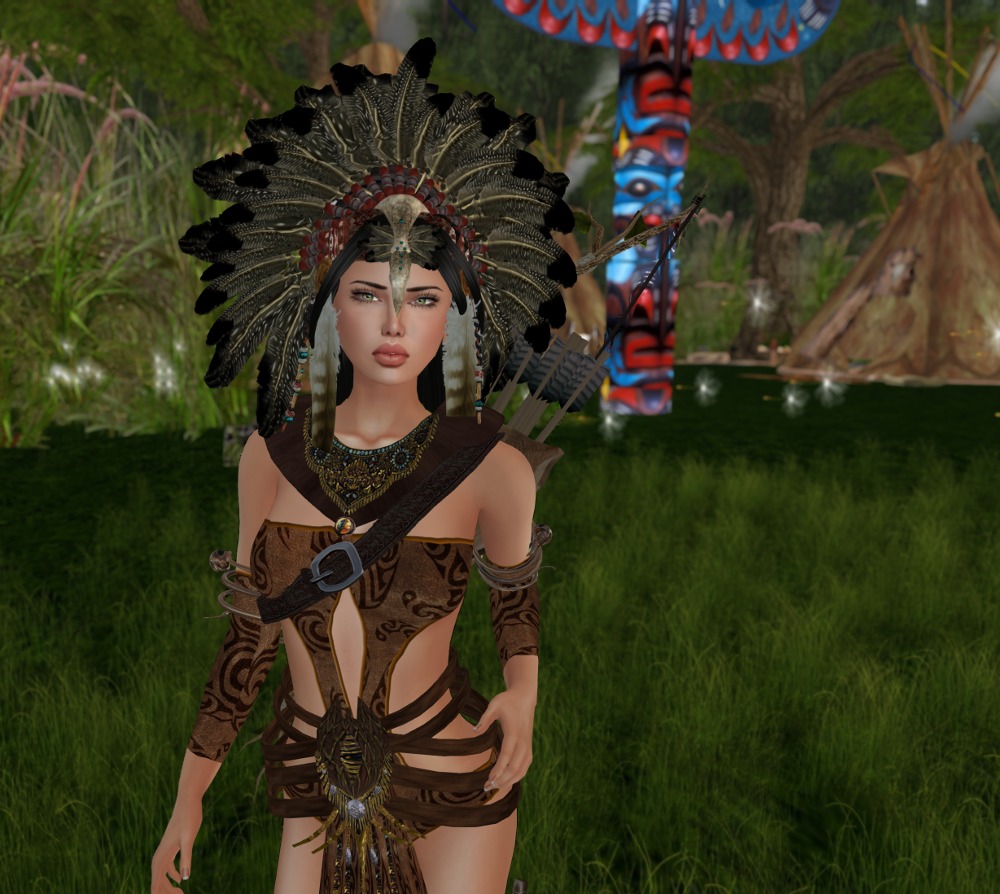
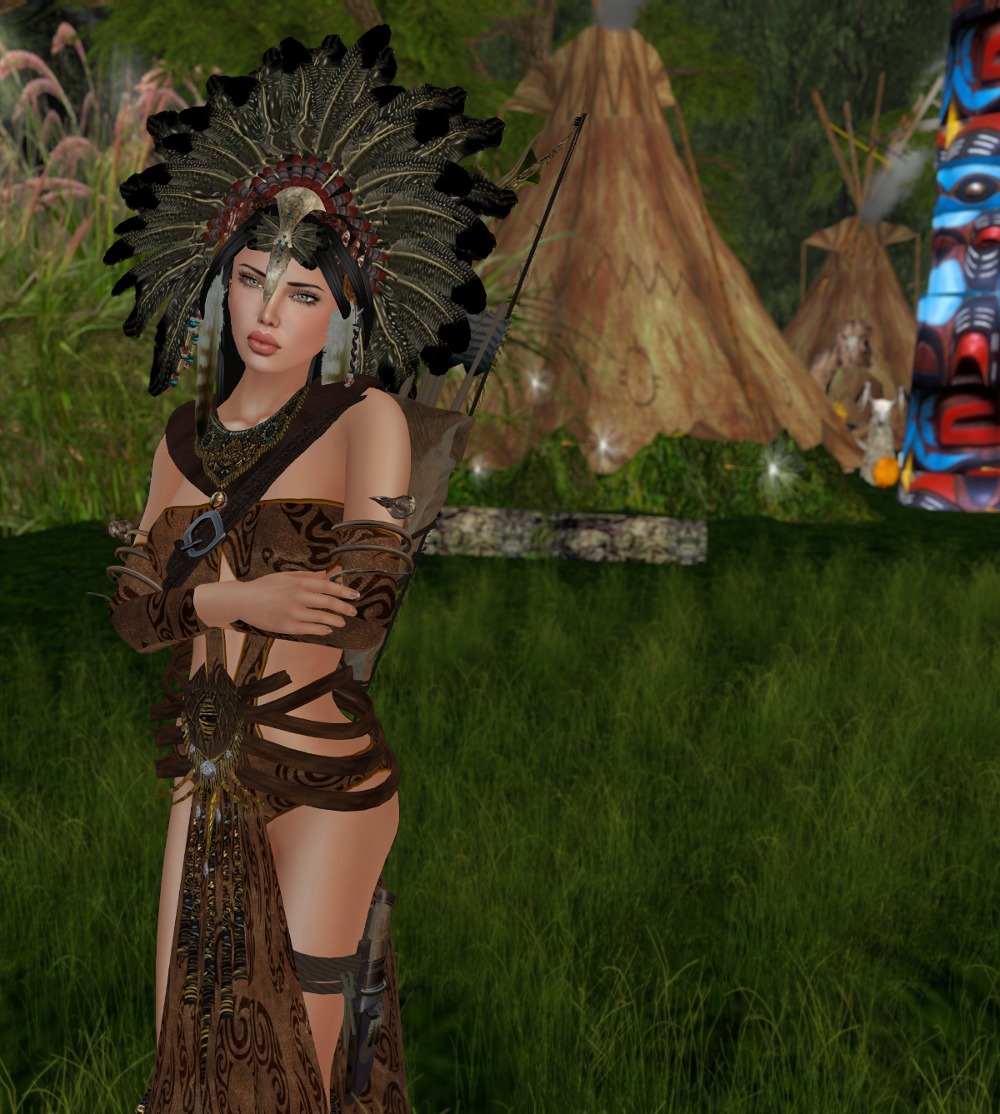
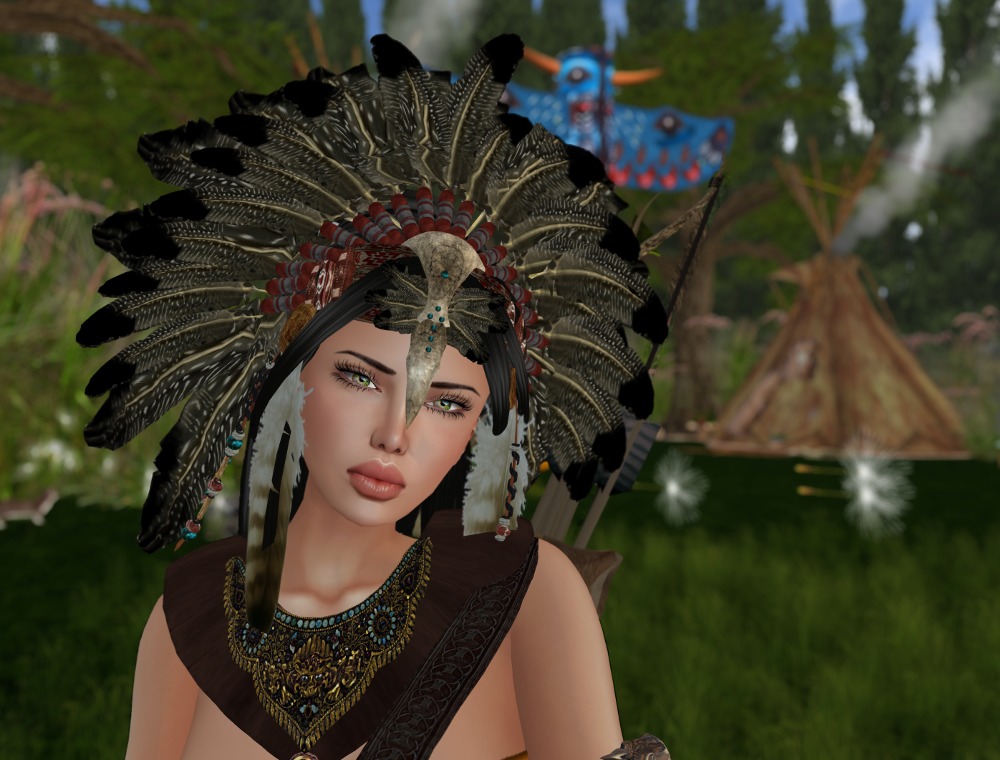
A while ago, I did a hunt called “The Naked Hunt”. There were some OK items and some not so OK items. This outfit I glanced at at went “Oh nice”, but I didn’t think I had time to fiddle around with resizing. Well, I looked today and was pleasantly surprised to find that all the items in the outfit had resize scripts, and they actually worked 🙂
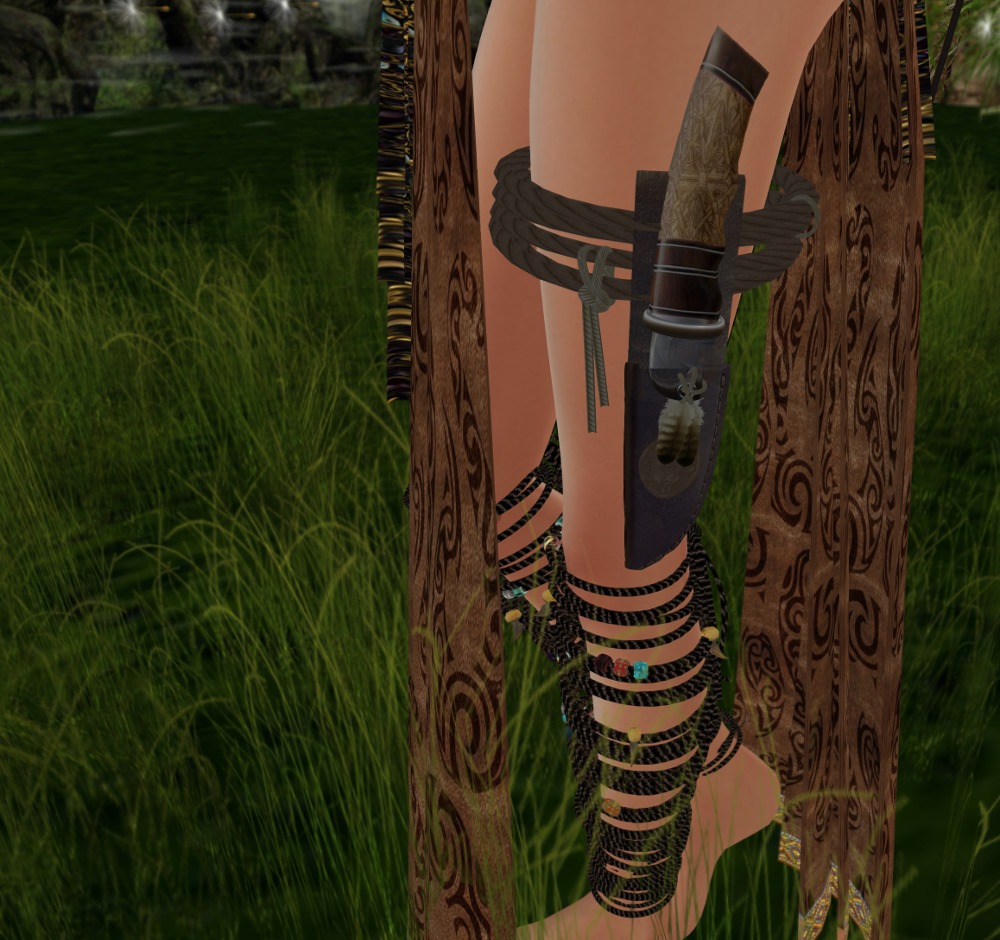
The level of detail on this is just fantastic, but you do pay for it in avatar complexity, which for this is well over 200,000. So you have to hope that people around you have good graphics cards 🙂
As you can see, there is a little clipping around my lower ribs, but out of static poses, this is mostly unnoticeable.
The outfit has system layers for the top and pants and also has them in an Omega applier but note, this was from The Naked Hunt, so you’re not particularly well covered where is counts (translation: you’re not covered at all) 🙂
Again, the detail the creator has gone to is fabulous. The textures look superb.
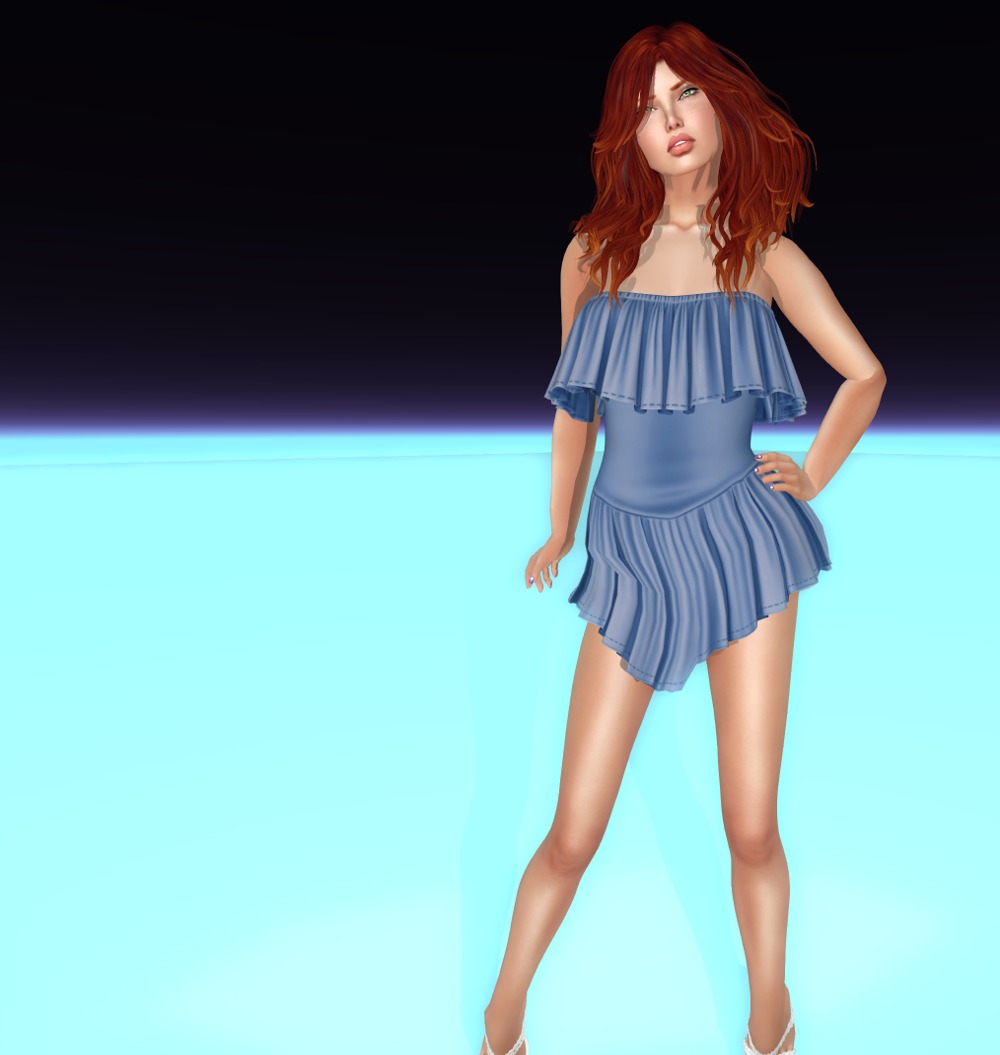
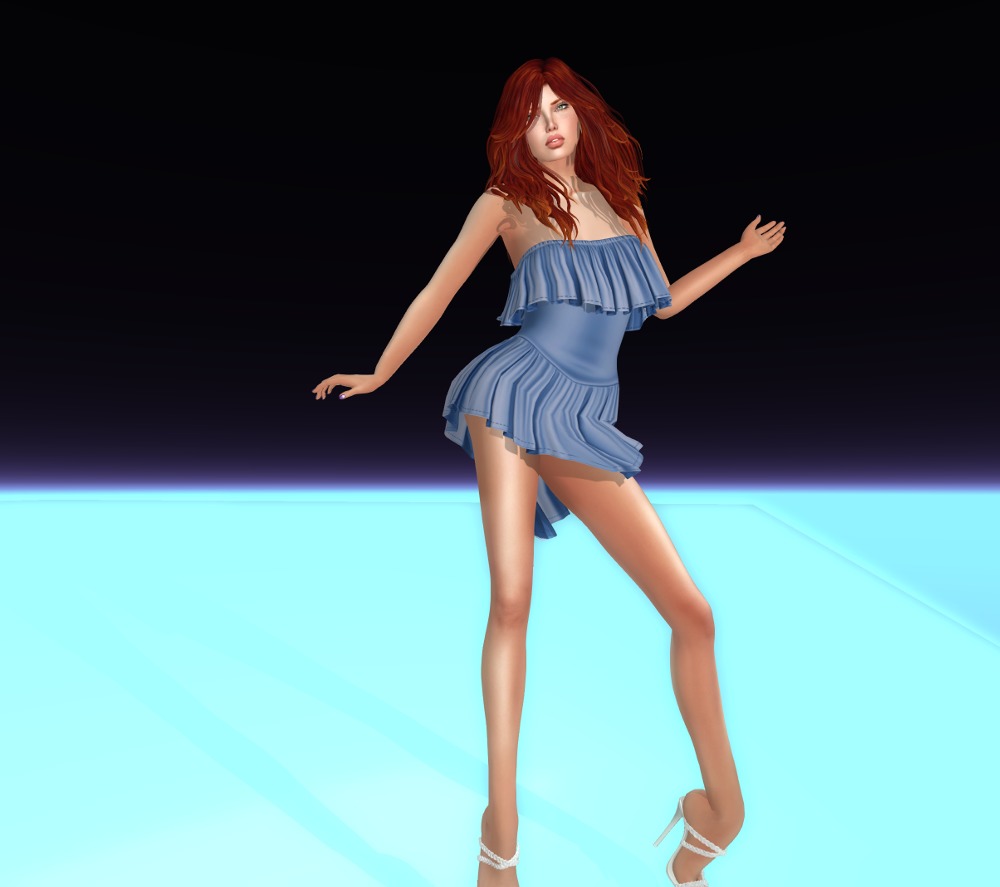
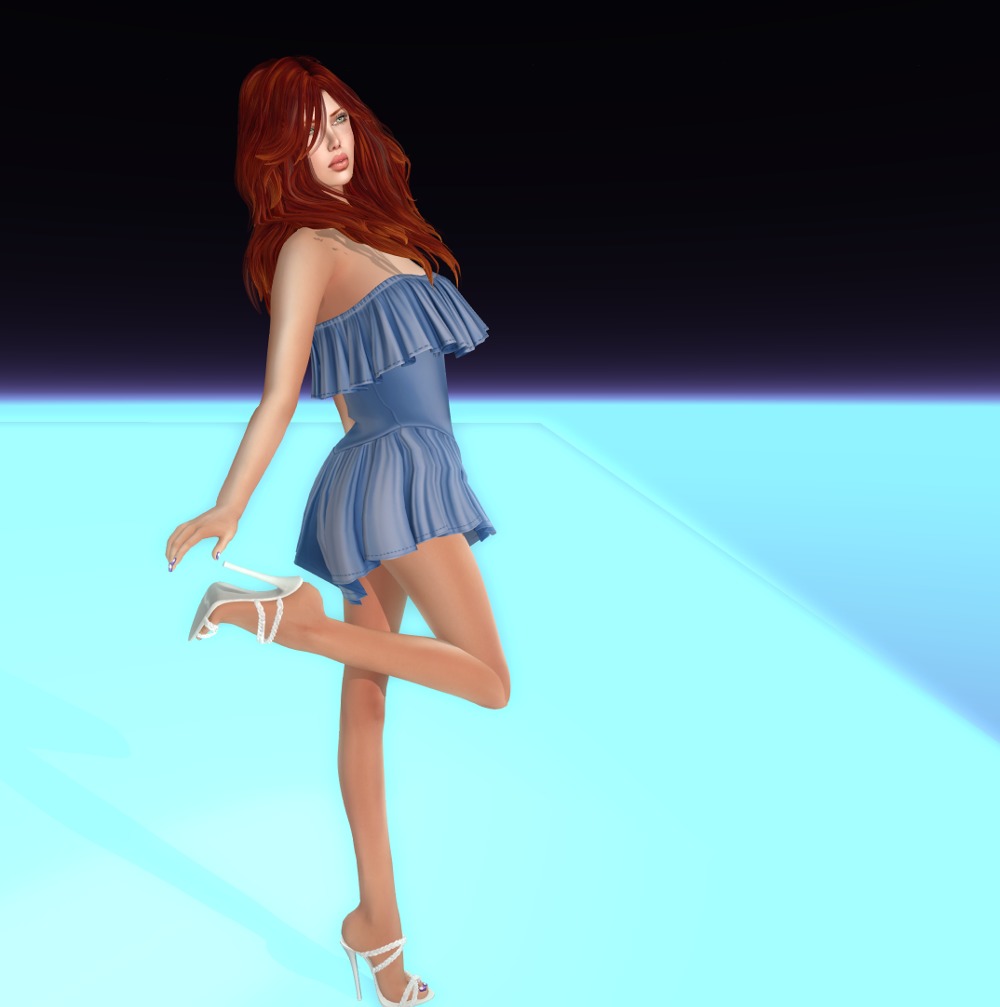
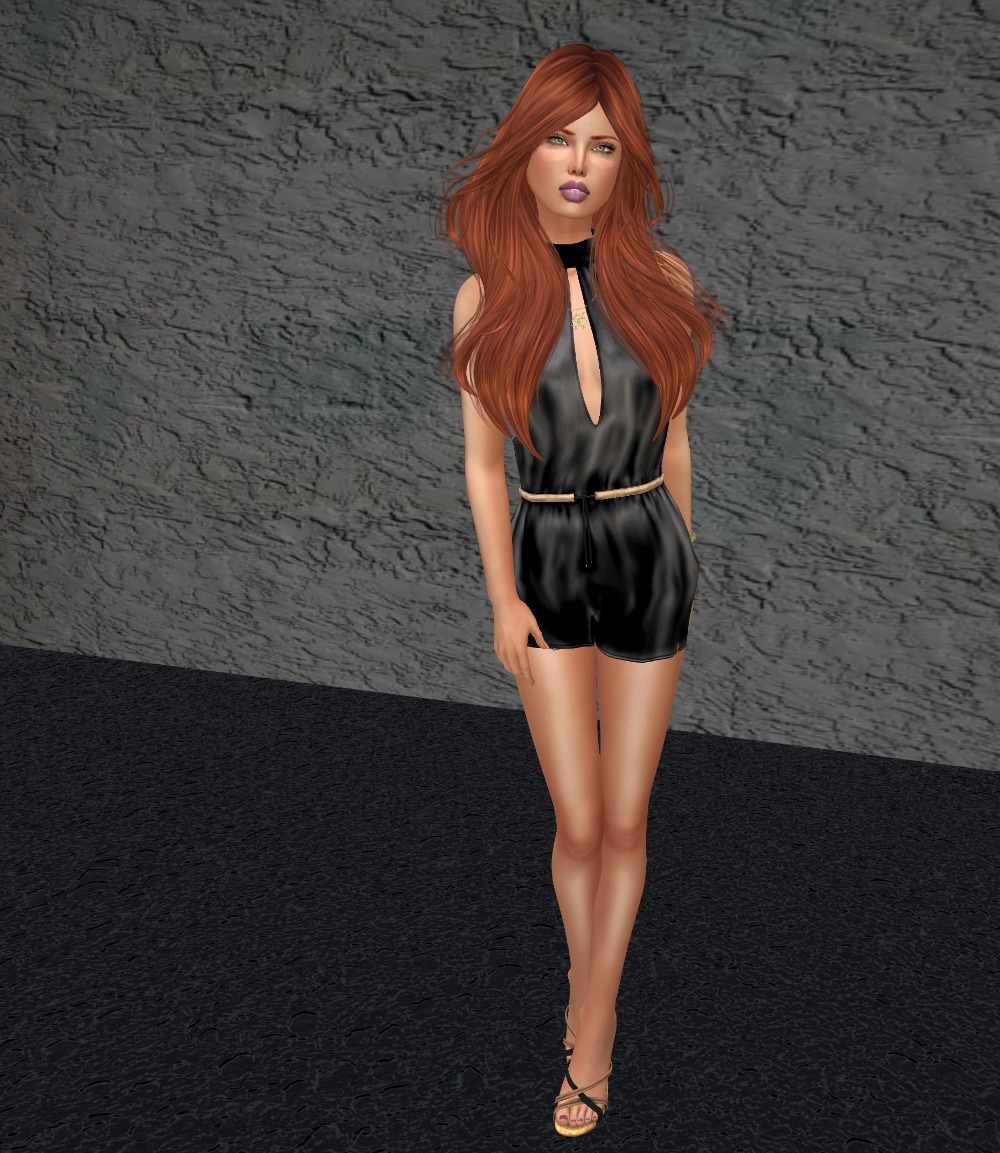
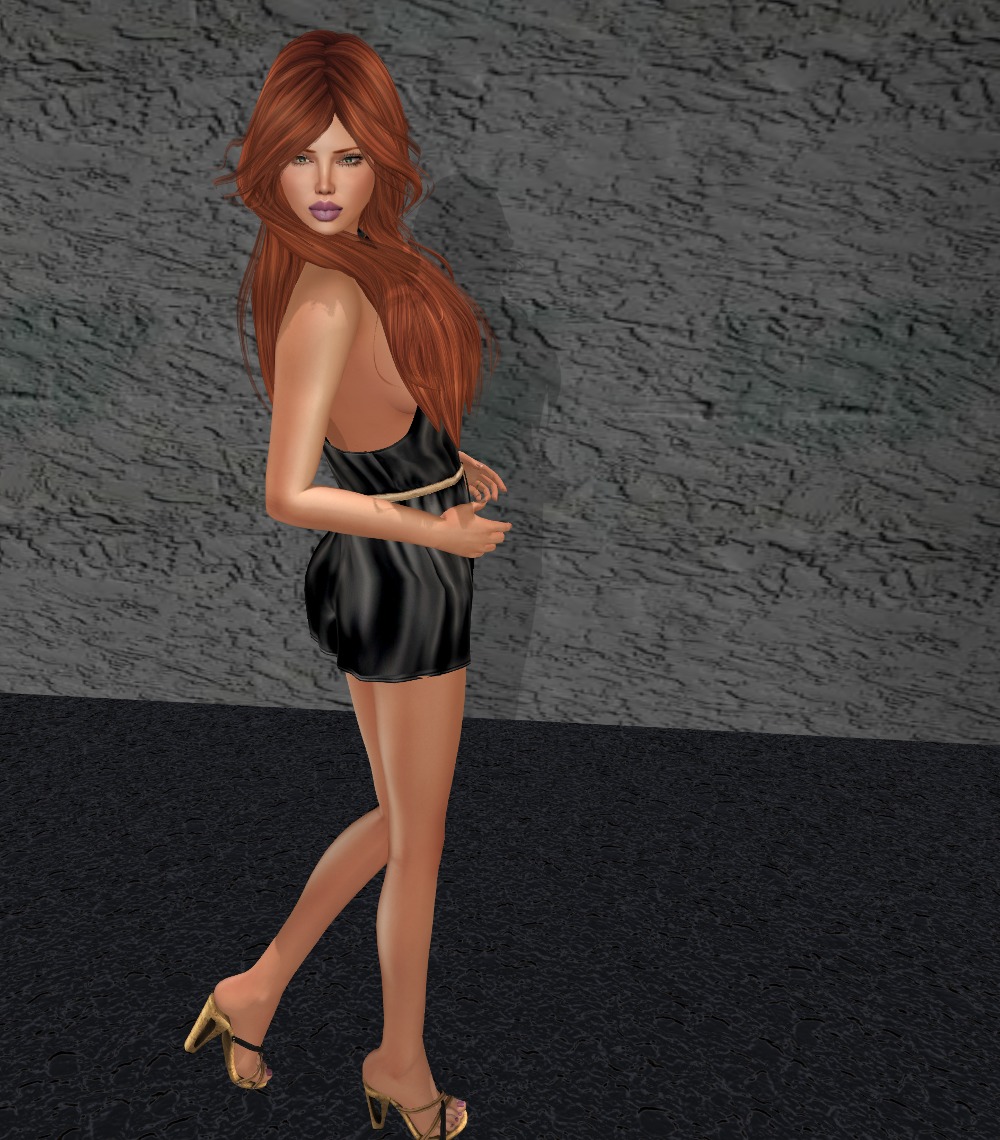
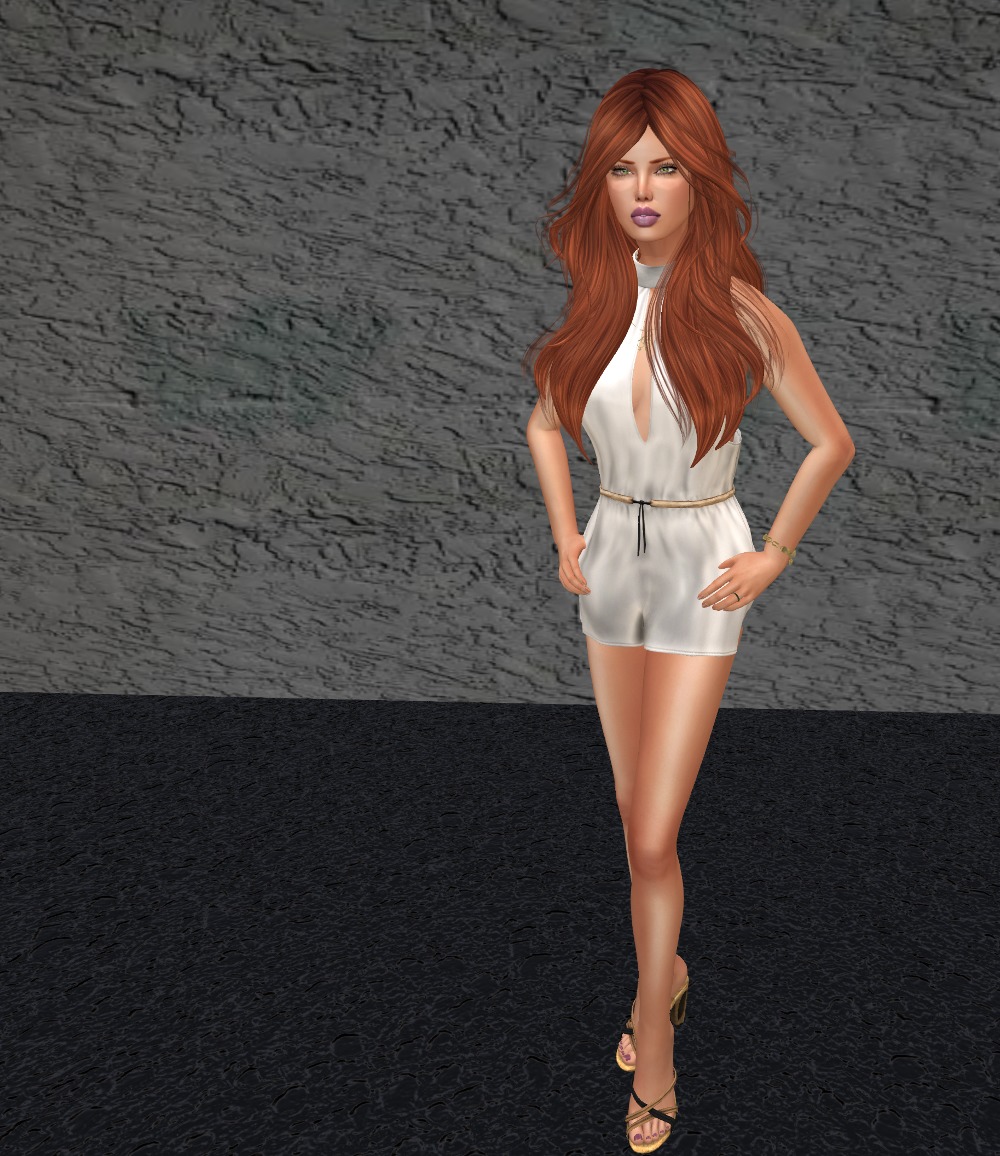
Here’s another romper before we get too far into the cold weather. This was the group gift at FA Creations for September. If you hurry, it may be still available. FAC is FREE to join.
Standard mesh sizes, plus one-size-fits-all fitmesh, and specific sizes for Slink Physique and Hourglass, plus MT body.