I put up a post a couple of days ago that linked to The Temple of the Collar. Someone asked me if I used RLV because of the link, and yes, both Aeon and I use the Open Collar scripts, but not in the necklace I was wearing. Rather, I took the script set and put it in our rings.
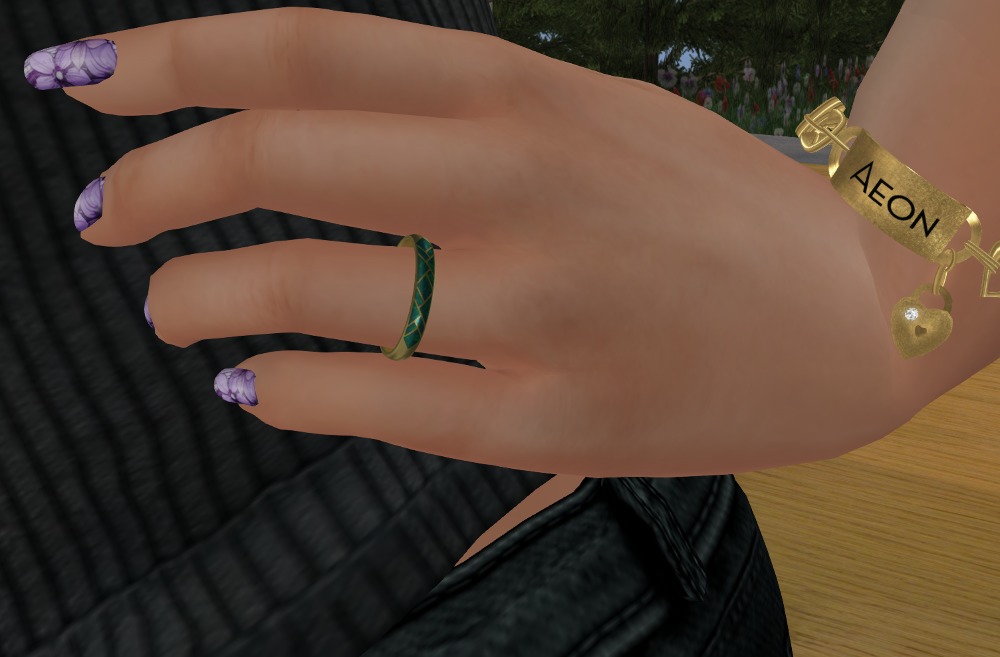
As Aeon made our rings, I had to understand how the scripts worked and how make an attachment to place the scripts in. This is a quick tutorial on how to do that with your own objects.
Firstly, you need to obtain the scripts. They are available at The Temple of the Collar for free. The object you get is a very plain collar called “OpenCollar Six”, and as you will see, it’s constructed exactly the same as what I will show you below. Don’t panic! There are quite a few scripts in there and you will have to use “edit linked” and move them to your inventory.
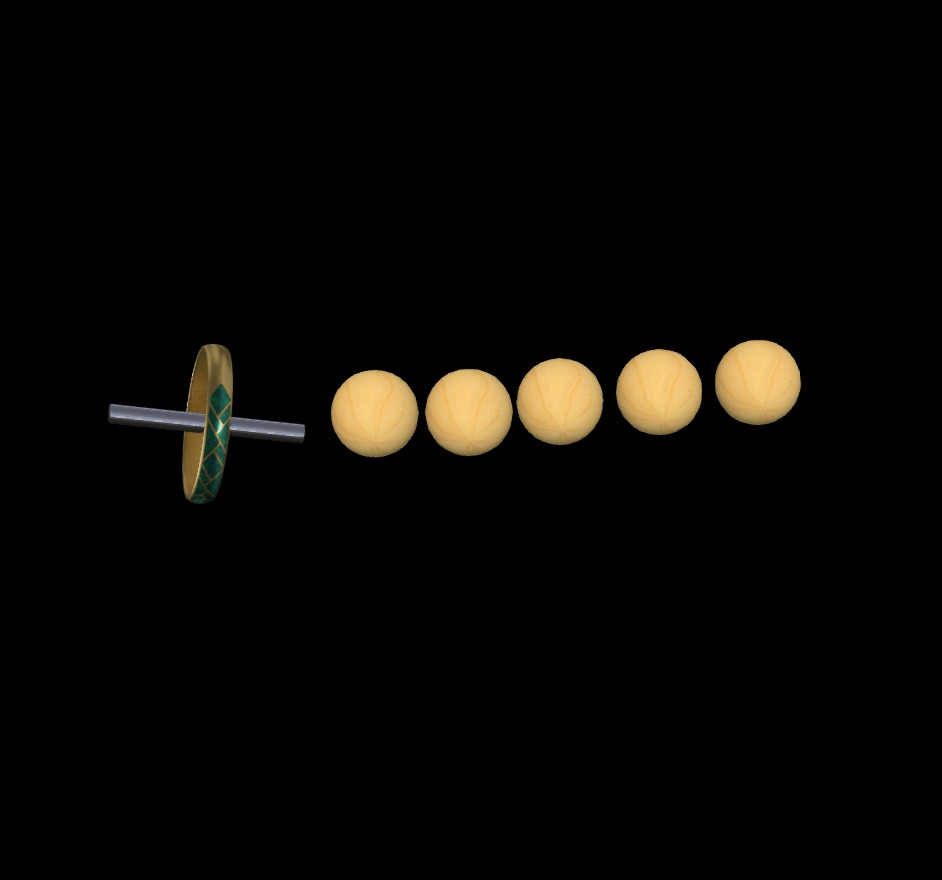
Next, you need to create a linkset with six prims. For nearly everything you could wear, five spheres at their smallest size will do just nicely as we are going to make them transparent anyway (at least for the ring. If you have an attachment with at least six linked parts, , that’s all you need, visible or not).
Here’s a photo with the ring and five sphere’s rezzed beside it…
Each of the spheres needs to be named in the edit window’s general tab. The names must be exactly right for the scripts to work.
Name the spheres from left to right:
- Settings
- Animator
- Authorizer
- Dialog
- RLV
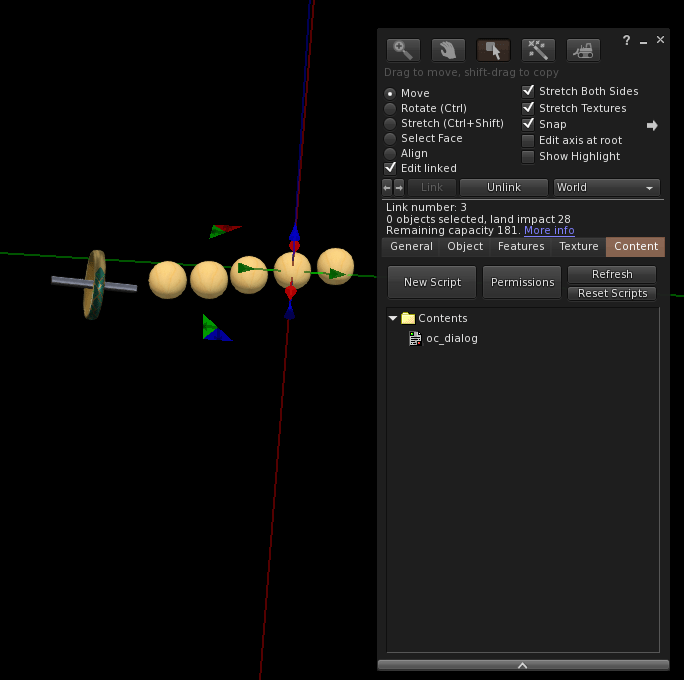
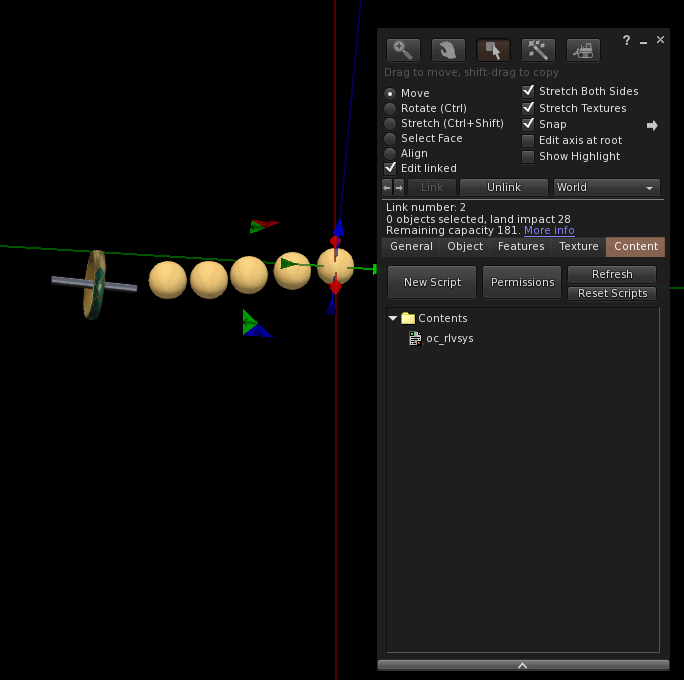
Now, from your inventory, you need to place scripts, notecards, and animations into each of the spheres, and the ring.
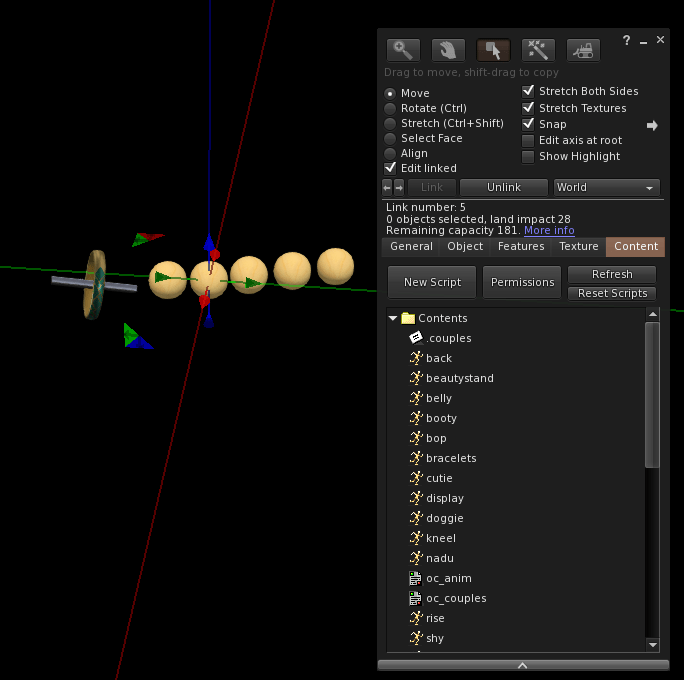
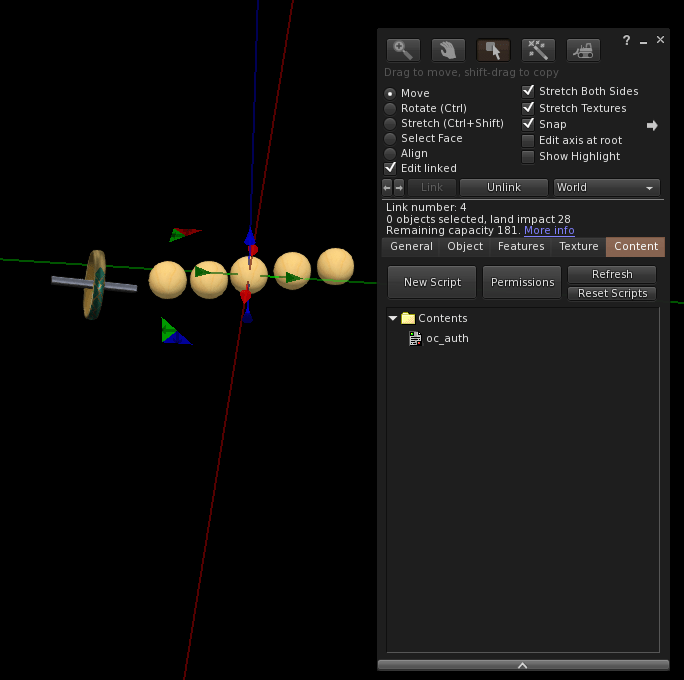
Here’s a photo for how each object’s contents should look, starting with the ring, and then followed by the spheres in the same order as above. Note for the Animator, the contents are not all contained in the photo of the window. Just drop the notecard and two scripts you can see in the photo, and all the animations from OpenCollar, into this sphere.


I can now link everything together. Make sure you select the object with all the scripts (the ring, in my case) as the root of the linkset! Reset the scripts in the object, and if everything has worked ok, you should get a message that says “RLV ready!”
Now you can position the spheres and make them transparent. I just selected the root object (the ring), copied its position, and pasted the position into each of the linked spheres to position them all with the same center.
And that’s it! Take the object into your inventory and wear for your personalized RLV enabled attachment!